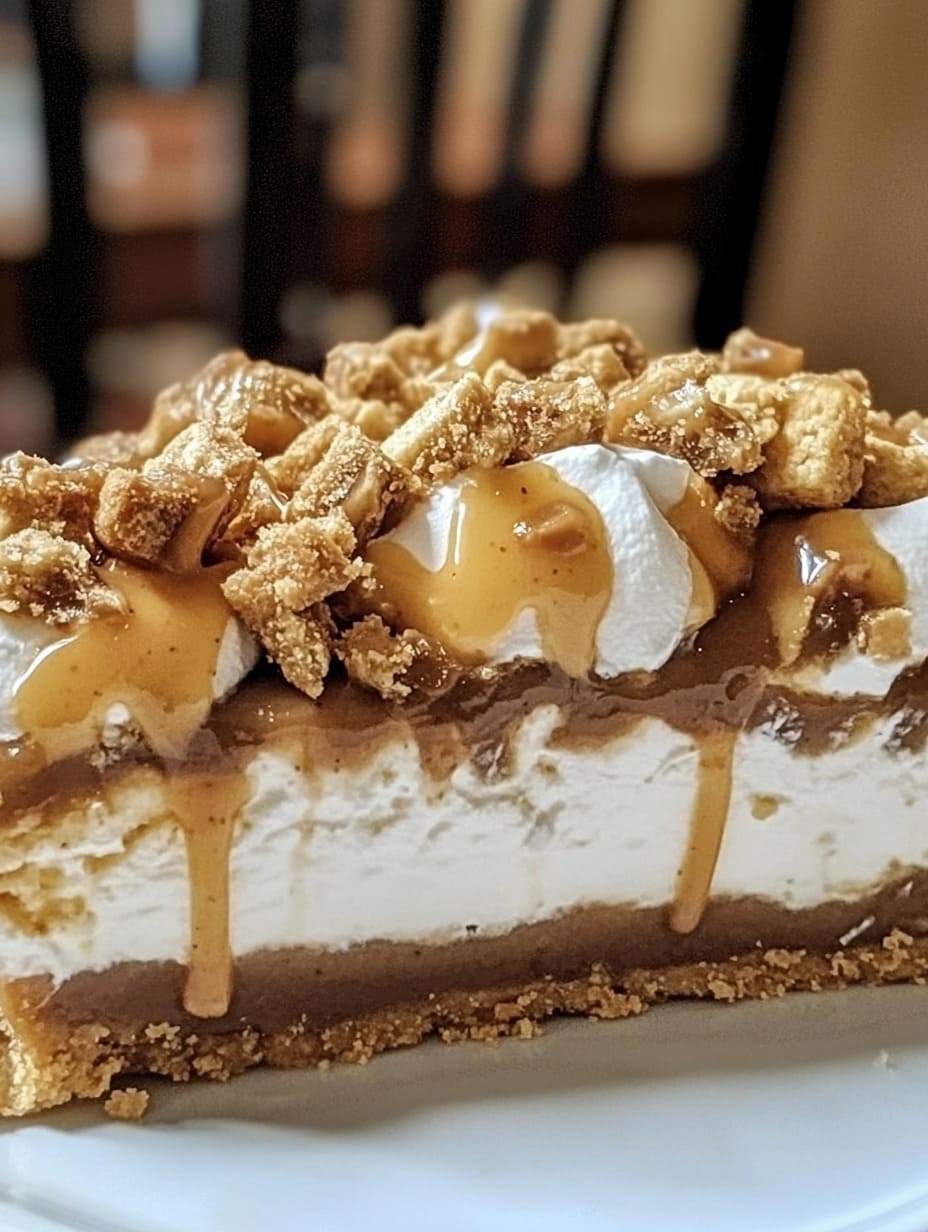
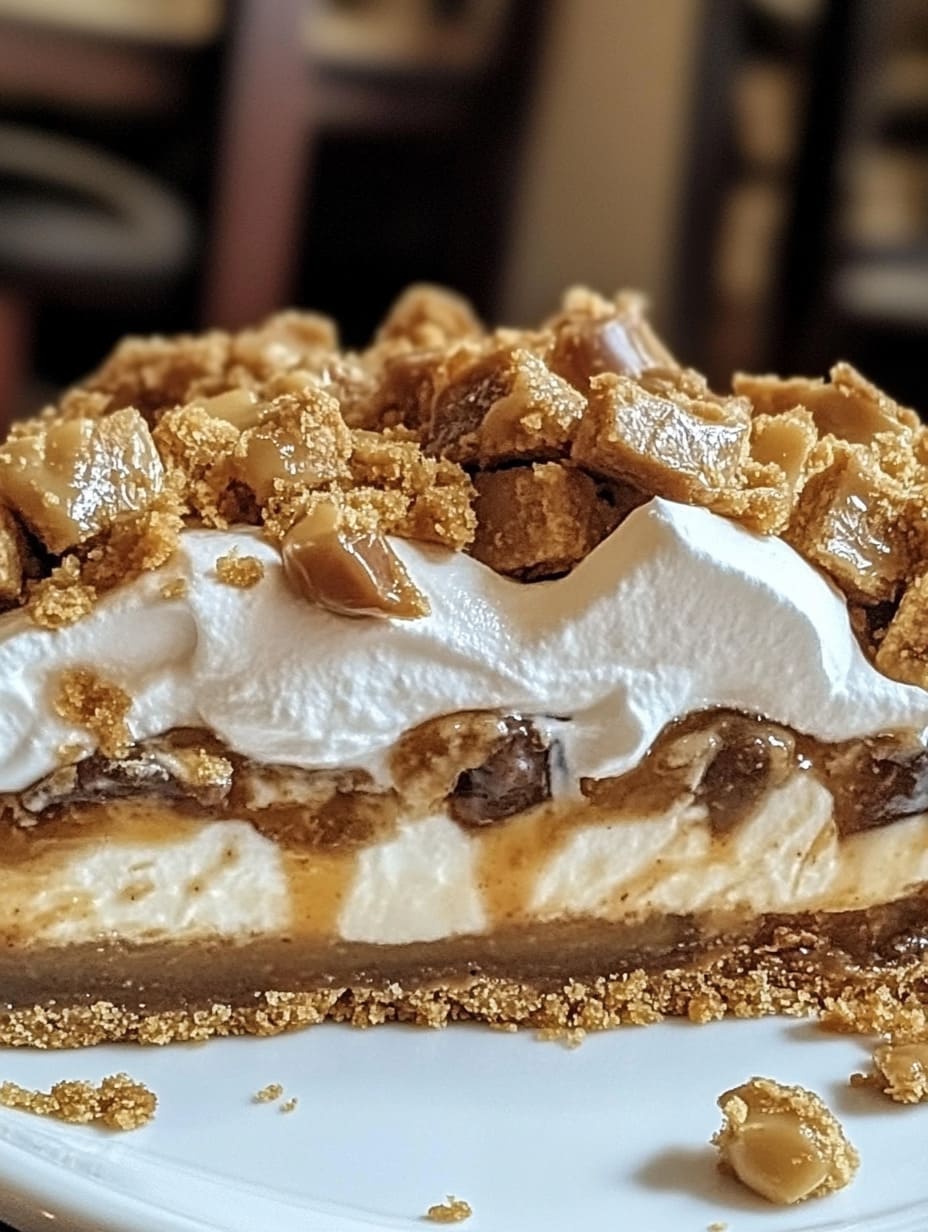
Craving something sweet, crunchy, and outrageously delicious? This no-bake Butterfinger pie is a peanut butter lover’s dream! With a rich chocolate crust, fluffy peanut butter cream filling, and crushed Butterfinger bars throughout, this dessert is perfect for holidays, potlucks, or satisfying your sweet tooth any night of the week.
Why You’ll Love This Recipe
No baking required—just mix, chill, and serve
Loaded with rich peanut butter and candy bar flavor
Perfect for make-ahead desserts and parties
Ingredients Breakdown
For the Crust:
Crushed Chocolate Graham Crackers or Oreos (1½ cups): Forms the rich, chocolatey base that holds the filling.
Unsalted Butter (5 tbsp, melted): Binds the crushed cookies and creates a sturdy crust.
For the Filling:
Cream Cheese (8 oz, softened): Provides a creamy, tangy base for the filling.
Creamy Peanut Butter (½ cup): Adds flavor and richness to the filling.
Powdered Sugar (1 cup): Sweetens the filling to balance the cream cheese and peanut butter.
Vanilla Extract (1 tsp): Enhances the flavor with a subtle, warm note.
Whipped Topping (8 oz, thawed): Lightens the filling, making it airy and fluffy.
Crushed Butterfinger Bars (4 bars, plus extra for topping): The star ingredient, adding a crunchy, peanut-buttery texture and sweet flavor.
For Garnish (Optional):
Extra Crushed Butterfinger: For added texture and flavor on top.
Chocolate or Caramel Sauce (for drizzling): Adds a rich, indulgent finish.
Whipped Cream: For a fluffy, creamy topping.

Tips and Tricks
Use a food processor to crush cookies quickly and evenly.
For extra crunch, mix in toffee bits or chopped peanuts.
Freeze for 20–30 minutes before serving if you prefer a firmer texture.
Make it in a store-bought chocolate pie crust for an even quicker option.
Variations and Customizations
Gluten-Free Option: Use gluten-free chocolate cookies for the crust.
Low Sugar Swap: Use sugar-free whipped topping and reduced-sugar peanut butter.
Mini Pies: Make in a muffin tin with liners for individual servings.
Candy Swap: Try Snickers, Reese’s, or Twix instead of Butterfinger for fun flavor variations.
Serving & Storage
Refrigerate: Store covered in the fridge for up to 4 days.
Freeze: Freeze for up to 1 month. Thaw in the refrigerator before serving.
Best served chilled with toppings added just before serving.
Popular Questions
Can I use natural peanut butter?
You can, but the texture may be slightly looser. Stir well before using.
Can I make this pie ahead of time?
Yes! This pie is ideal for making the day before. Chill overnight for the best flavor.
Is this pie freezer-friendly?
Absolutely. Wrap tightly in plastic and freeze. Thaw in the fridge before serving.


