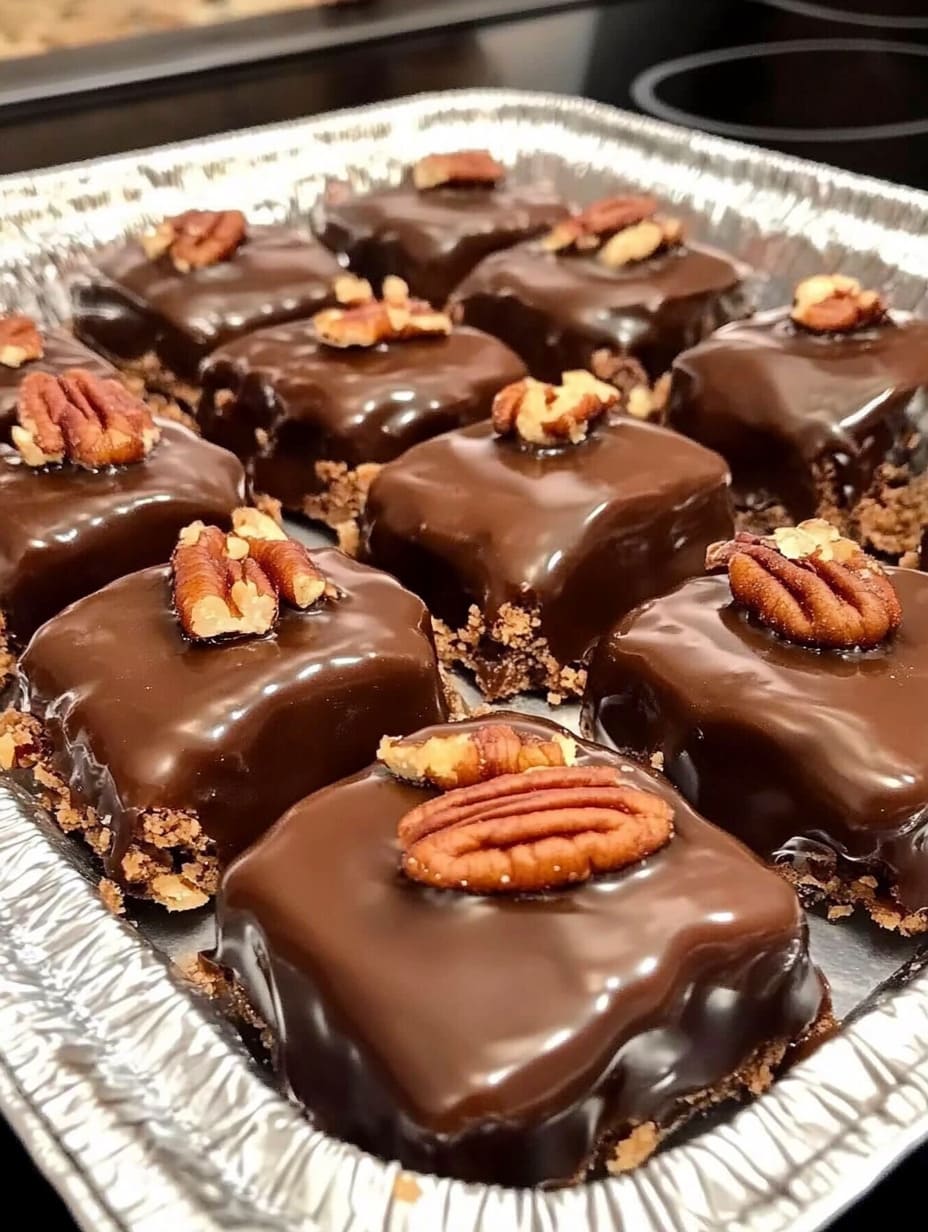
This Homemade Turtle Candy recipe features buttery pecans, rich caramel, and smooth melted chocolate—all combined into the perfect bite-sized indulgence. These no-bake candies are incredibly easy to make and look just as good as they taste. Whether you’re prepping for the holidays, gifting homemade candy, or simply satisfying a sweet tooth, these classic turtle candies are a guaranteed crowd-pleaser.
Why You’ll Love This Recipe
No baking required—ready in under an hour
Only 3 main ingredients
Perfect for gift boxes, cookie trays, or holiday spreads
Sweet, salty, crunchy, and creamy in every bite
Easy to scale for larger batches
Ingredients Breakdown
64 pecan halves
Serve as the crunchy base and create the classic turtle “legs” and “head” shape.11 oz. caramels (baking or cooking)
Melted to form a soft, chewy layer that holds the pecans together.1 tablespoon water
Helps smooth out the caramel as it melts.1 bag semi-sweet chocolate chips
Adds a rich chocolate topping that balances the sweetness of the caramel.Parchment paper or silicone baking mat
Prevents sticking and ensures easy removal of the set candies.

Tips for Success
Use quality caramels for the best texture—avoid overly hard varieties.
Silicone mats are great for easy release without sticking.
Work quickly with melted caramel before it firms up.
Add toppings like crushed pretzels, flaky sea salt, or drizzle with white chocolate for a festive look.
Variations and Customizations
White Chocolate Turtle Candies: Substitute or drizzle with white chocolate.
Dark Chocolate Version: Use dark chocolate chips or baking chocolate for a more intense flavor.
Salted Turtle Candy: Sprinkle sea salt flakes on top before chilling.
Nut Alternatives: Try walnuts or almonds instead of pecans.
Pairing Suggestions
These candies go great with:
A cup of espresso or hot cocoa
Holiday cookie trays
Charcuterie boards for sweet-savory contrast
Storage Instructions
Room Temperature: Store in an airtight container for up to 5 days.
Refrigerator: Keeps fresh up to 2 weeks when refrigerated.
Freezer: Freeze for up to 2 months. Layer with parchment paper to prevent sticking.
Frequently Asked Questions
Can I use homemade caramel?
Yes! A small-batch soft caramel works perfectly and adds even more flavor.
Do I need a candy thermometer?
Not for this recipe—melting store-bought caramels in the microwave makes this process super easy.
Can I make a larger batch?
Absolutely. This recipe doubles or triples easily for holiday gifting or parties.


