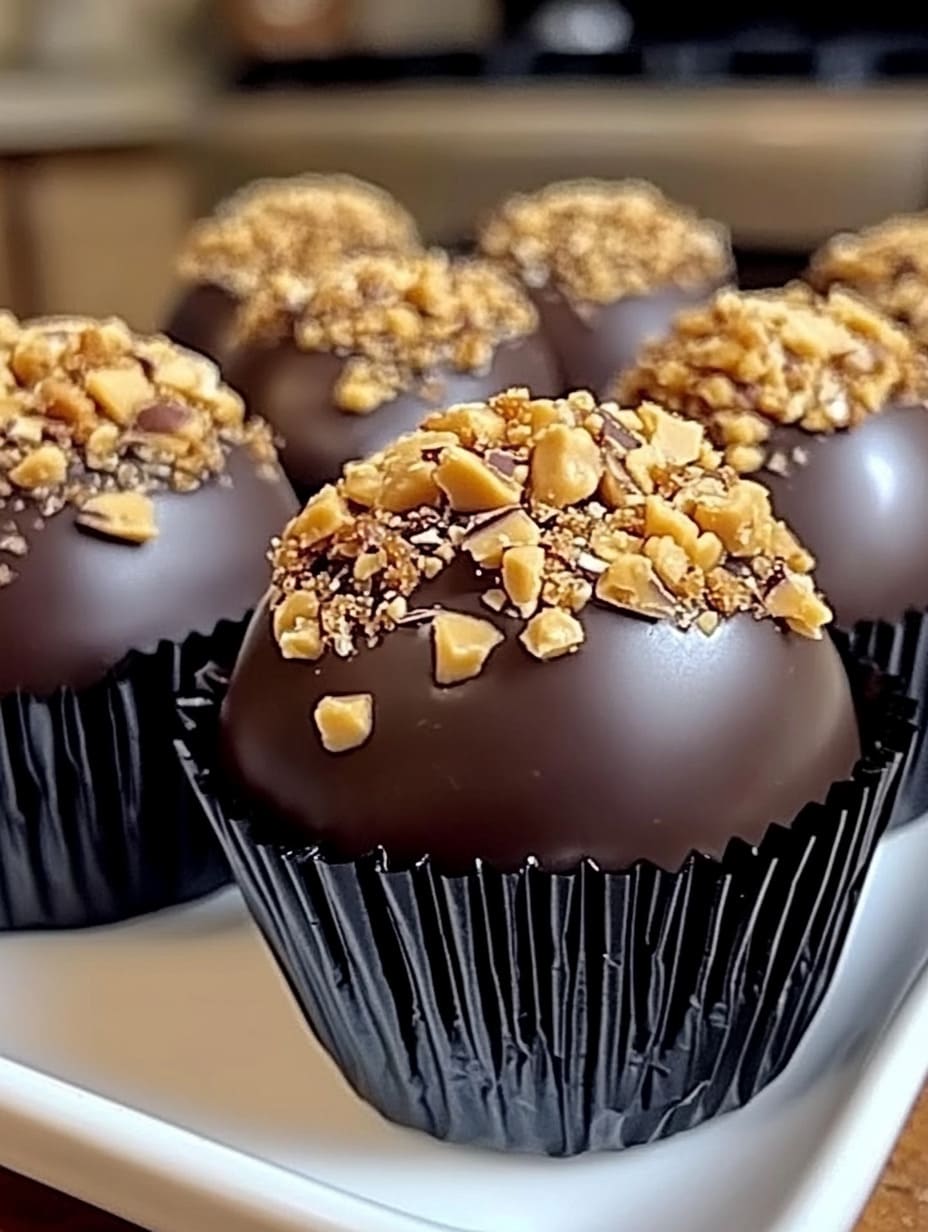
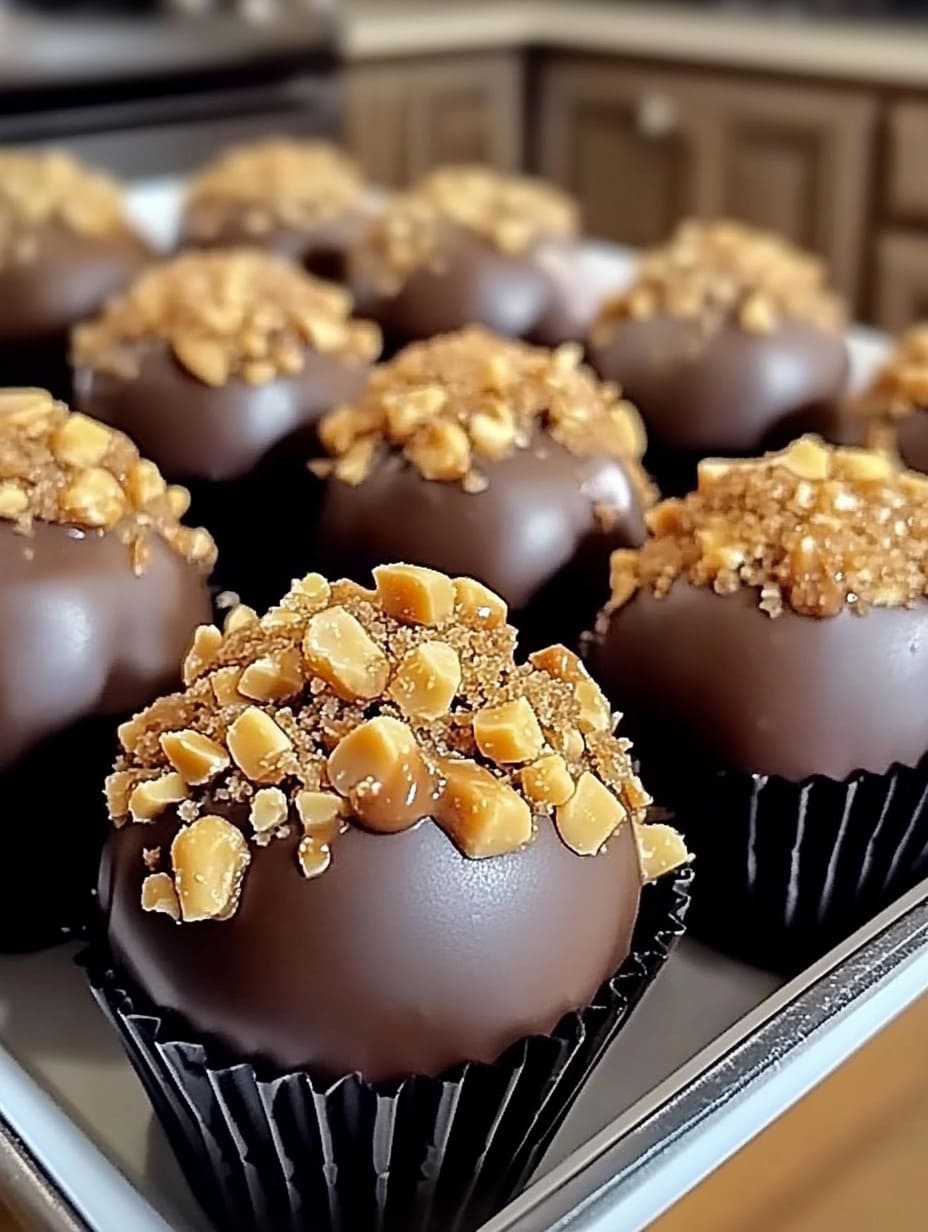
Craving a sweet and salty treat that’s rich, creamy, and packed with crunch? These Butterfinger Peanut Butter Bombs combine the irresistible flavors of peanut butter and chocolate with a crispy Butterfinger twist. Best of all, this is a no-bake recipe that delivers maximum indulgence with minimal effort.
Why You’ll Love This Recipe
No oven required – perfect for warm weather or quick treats
High-protein peanut butter base with a candy shop crunch
Perfect for holidays, parties, and edible gifts
Freezer-friendly for make-ahead dessert options
Ingredients Breakdown:
For the Filling:
1 cup creamy peanut butter – The base of the filling, delivering smooth, nutty richness.
¼ cup unsalted butter, softened – Adds creaminess and structure.
2 cups powdered sugar – Sweetens and thickens the filling into a moldable dough.
1 teaspoon vanilla extract – Enhances flavor with warm, aromatic notes.
¼ teaspoon salt – Balances the sweetness and intensifies the peanut butter flavor.
½ cup crushed Butterfinger candies – Infuses each bite with signature Butterfinger crunch and flavor.
For the Chocolate Coating:
2 cups semi-sweet chocolate chips – The smooth, rich outer shell that complements the sweet filling.
1 tablespoon coconut oil (optional) – Helps the chocolate melt smoother and adds a glossy finish.
For the Topping:
½ cup crushed Butterfinger candies – Sprinkled on top for extra crunch and eye-catching texture.

Tips and Tricks
Use a cookie scoop to make evenly sized portions.
Freeze before dipping to prevent melting during coating.
Store in layers with parchment between to avoid sticking.
Add flair with a drizzle of white chocolate or colored candy melts.
Variations and Customizations
Swap the candy: Use crushed Snickers, Twix, or Reese’s Pieces for a different twist.
Make it gluten-free: Use gluten-free Butterfinger-style candies and verify all ingredients.
Add texture: Fold in crushed graham crackers or crispy rice cereal.
Dark chocolate fans: Substitute semi-sweet with dark chocolate for a richer flavor.
Pairing Suggestions
Drinks: Enjoy with a cold glass of milk, chocolate milk, or hot coffee.
Dessert platter: Pair with truffles, chocolate bark, or peanut butter fudge.
Occasions: Ideal for bake sales, gift baskets, party favors, or holiday trays.
Storage Instructions
Refrigerator: Store in an airtight container for up to 7 days.
Freezer: Freeze for up to 2 months. Thaw at room temperature before serving.
Avoid humidity: Keep cool to prevent chocolate from melting or sweating.
Popular Questions
Can I make these ahead of time?
Yes! They’re perfect for freezing or refrigerating days in advance.
Do I have to use Butterfinger?
No—feel free to substitute any crunchy candy you love.
What’s the best chocolate for coating?
High-quality melting wafers or semi-sweet chocolate chips work best for smooth coverage.


