
No Bake Twix Cheesecake is the ultimate indulgence for chocolate and caramel lovers. With layers of buttery graham cracker crust, rich chocolate, creamy cheesecake filling, and gooey caramel, this dessert brings the flavors of a classic Twix bar to a stunning cheesecake. No baking required means minimal effort and maximum reward, making it perfect for busy weeknights, weekend treats, or special celebrations.
This layered dessert is not only visually impressive but also delightfully smooth and creamy, with a perfect balance of sweetness and texture. The combination of chocolate, caramel, and creamy cheesecake creates a rich flavor profile that appeals to kids and adults alike. With easy ingredients and simple assembly, this no-bake cheesecake is a must-try for any home baker looking for a crowd-pleasing dessert.
Why You’ll Love This Recipe
Quick and beginner-friendly with no oven required
Deliciously layered with chocolate, caramel, and cheesecake
Crowd-pleasing dessert perfect for parties and holidays
Minimal ingredients and simple kitchen equipment needed
Can be made ahead for stress-free entertaining
Rich, indulgent, and irresistible to chocolate lovers
About the Ingredients
Graham Cracker Crumbs
Forms a buttery, crunchy base that holds the cheesecake layers together.
Melted Butter
Binds the crust and adds richness for a perfect foundation.
Chocolate Chips & Heavy Cream
Create a smooth chocolate layer that solidifies into a decadent base.
Cream Cheese
Provides the creamy, slightly tangy cheesecake filling that balances the sweetness of chocolate and caramel.
Powdered Sugar & Vanilla Extract
Sweeten and flavor the cheesecake filling for a smooth, airy texture.
Whipped Cream
Folds into the cream cheese mixture to lighten the cheesecake layer.
Caramel Sauce
Adds gooey sweetness reminiscent of a Twix candy bar.
Optional Chocolate Drizzle
Garnishes the dessert, adding extra chocolate flavor and visual appeal.
This combination of simple ingredients creates a dessert that’s both impressive and easy to assemble.
Tips & Tricks
Chill the crust before adding chocolate for a firmer base
Use room-temperature cream cheese for a smooth filling
Fold whipped cream gently to avoid deflating the mixture
Use a silicone spatula for easy spreading of layers
Allow cheesecake to chill for at least 4 hours for the best texture
These easy kitchen hacks help ensure your cheesecake layers stay neat and creamy.
Pro Tips
Melt chocolate in short intervals to prevent burning
Use store-bought caramel for convenience or homemade for extra flavor
Press the crust firmly to avoid crumbling when slicing
Refrigerate overnight for the flavors to meld perfectly
Decorate with Twix pieces for a fun, themed presentation

Step-by-Step Instructions
1. Make the Crust
Combine 2 cups graham cracker crumbs and ½ cup melted butter until it resembles wet sand. Press the mixture evenly into the bottom of a 9-inch springform pan. Refrigerate for 10 minutes to firm up.
2. Prepare the Chocolate Layer
Heat 1 cup chocolate chips and ½ cup heavy cream in a microwave-safe bowl in 20-second intervals, stirring until smooth. Pour over the chilled crust and refrigerate for 15–20 minutes until firm.
3. Make the Cheesecake Filling
Beat 2 cups softened cream cheese, ½ cup powdered sugar, and 1 tsp vanilla extract until smooth. Gently fold in 1 cup whipped cream for a light, airy texture.
4. Assemble the Cheesecake
Spoon the cheesecake filling over the chocolate layer and smooth with a spatula. Spread 1 cup caramel sauce evenly on top.
5. Optional Chocolate Drizzle
Melt ¼ cup chocolate chips with 1 tbsp heavy cream and drizzle over the caramel layer for extra flair.
6. Chill and Serve
Refrigerate the cheesecake for at least 4 hours before slicing. Serve cold and enjoy the layered indulgence.
These easy step-by-step instructions make assembling a no-bake cheesecake simple and stress-free.
Variations
Mini Cheesecakes: Assemble in cupcake liners for individual servings
Nutty Twist: Sprinkle chopped peanuts or pecans between layers
Chocolate Lovers: Add extra chocolate chips in the cheesecake layer
Salted Caramel Version: Sprinkle flaky sea salt over caramel for balance
Vegan Option: Use coconut cream and dairy-free chocolate
These customizable dessert variations allow you to adapt the recipe to different tastes or dietary preferences.
How to Store No Bake Twix Cheesecake
Keep in an airtight container in the refrigerator for up to 5 days
Freeze individual slices for up to 2 months, thawing overnight in the fridge
Avoid leaving at room temperature for long periods due to the cream cheese layer
Perfect for make-ahead desserts for parties or celebrations
Frequently Asked Questions
Can I make this cheesecake ahead of time?
Yes, it’s perfect as a make-ahead dessert. Refrigerate overnight for best results.
Can I use store-bought whipped cream?
Yes, just fold it into the cream cheese mixture gently.
Do I need a springform pan?
While recommended for easy removal, a regular pan works if lined with parchment paper.
Can I add more chocolate or caramel?
Absolutely — adjust layers to your taste preference for extra indulgence.
Is this dessert kid-friendly?
Yes, it’s a hit with children and adults alike due to its sweet, layered flavors.
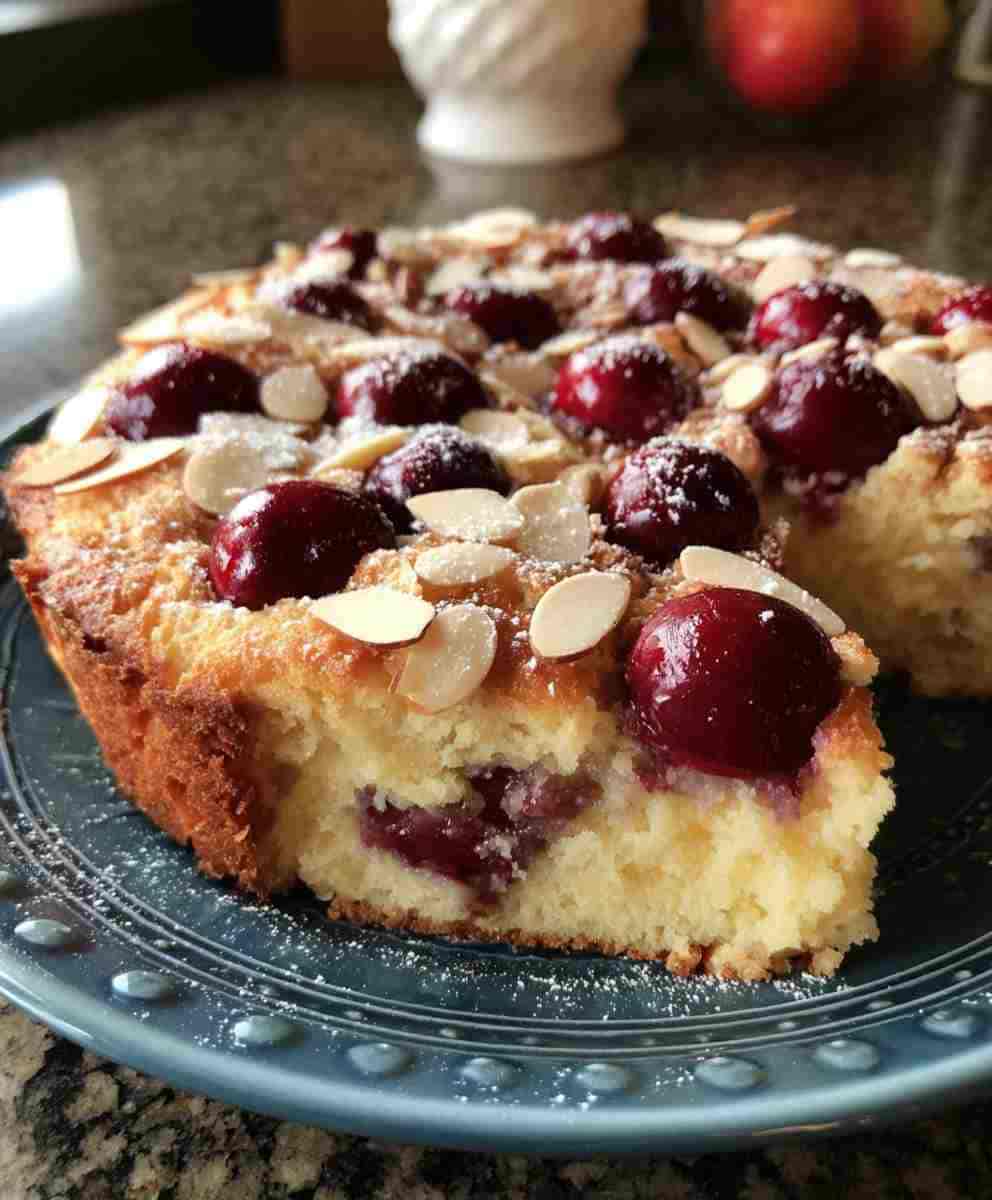
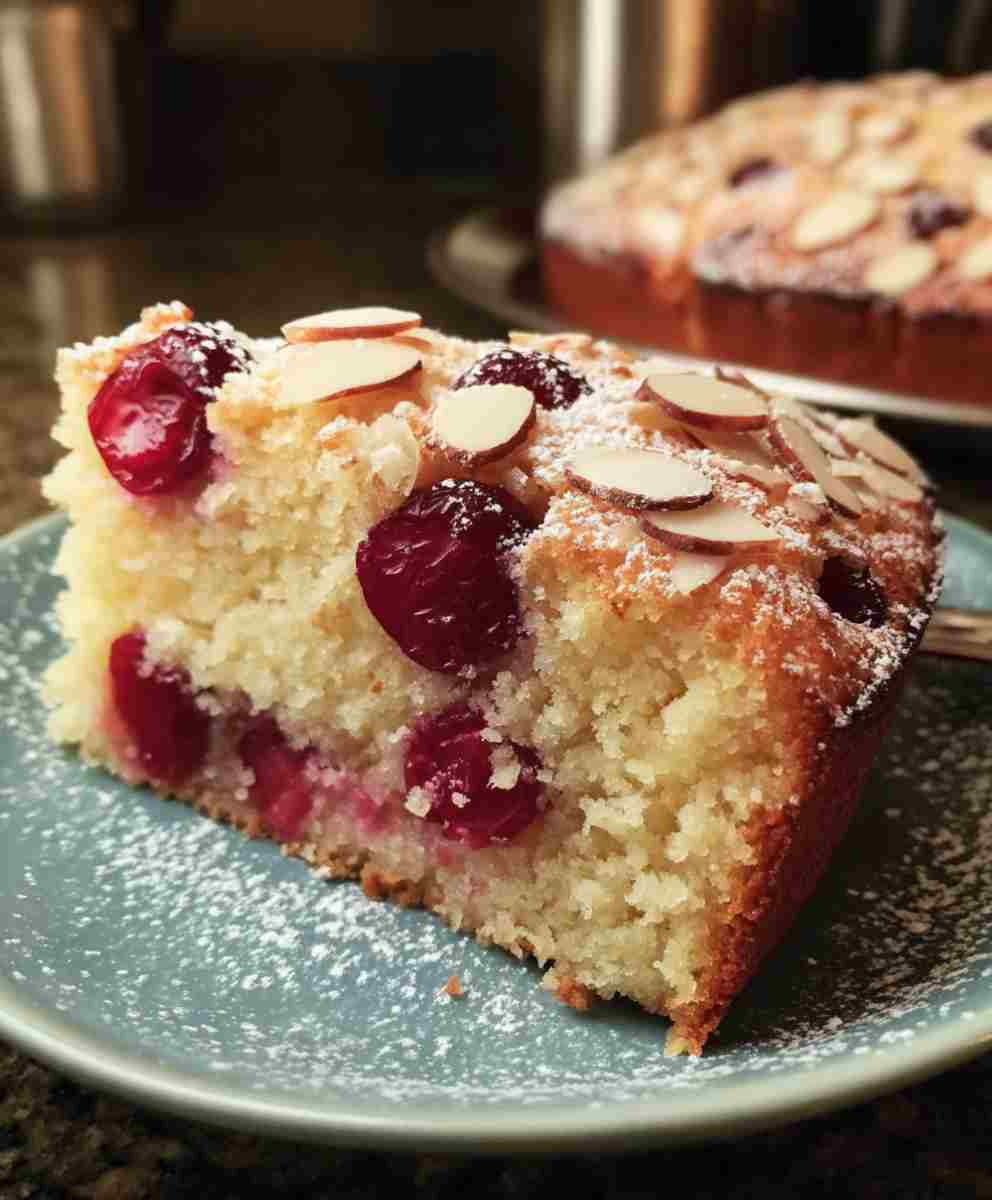
Juicy Cherry Almond Cake
Ingredients
Equipment
Method
- Preheat oven to 180°C (350°F) top/bottom heat. Drain cherries thoroughly.
- Beat butter and sugar until pale and frothy, 2–3 minutes. Add eggs one at a time, mixing well after each.
- Whisk flour and baking powder together. Fold into wet mixture until just combined. Stir in milk until smooth.
- Grease a springform pan. Pour batter in, smooth top, and scatter drained cherries evenly over batter.
- Bake 20–30 minutes on middle rack until base is set and lightly golden.
- Meanwhile, make topping: In saucepan, melt butter, sugar, and milk/cream over medium heat. Cook 5 minutes, stirring. Remove from heat, stir in almonds until coated.
- Spread almond mixture over par-baked cake. Return to oven for 15–20 minutes until topping is golden brown.
- Cool completely in pan on a wire rack. Once cool, release springform and serve.


