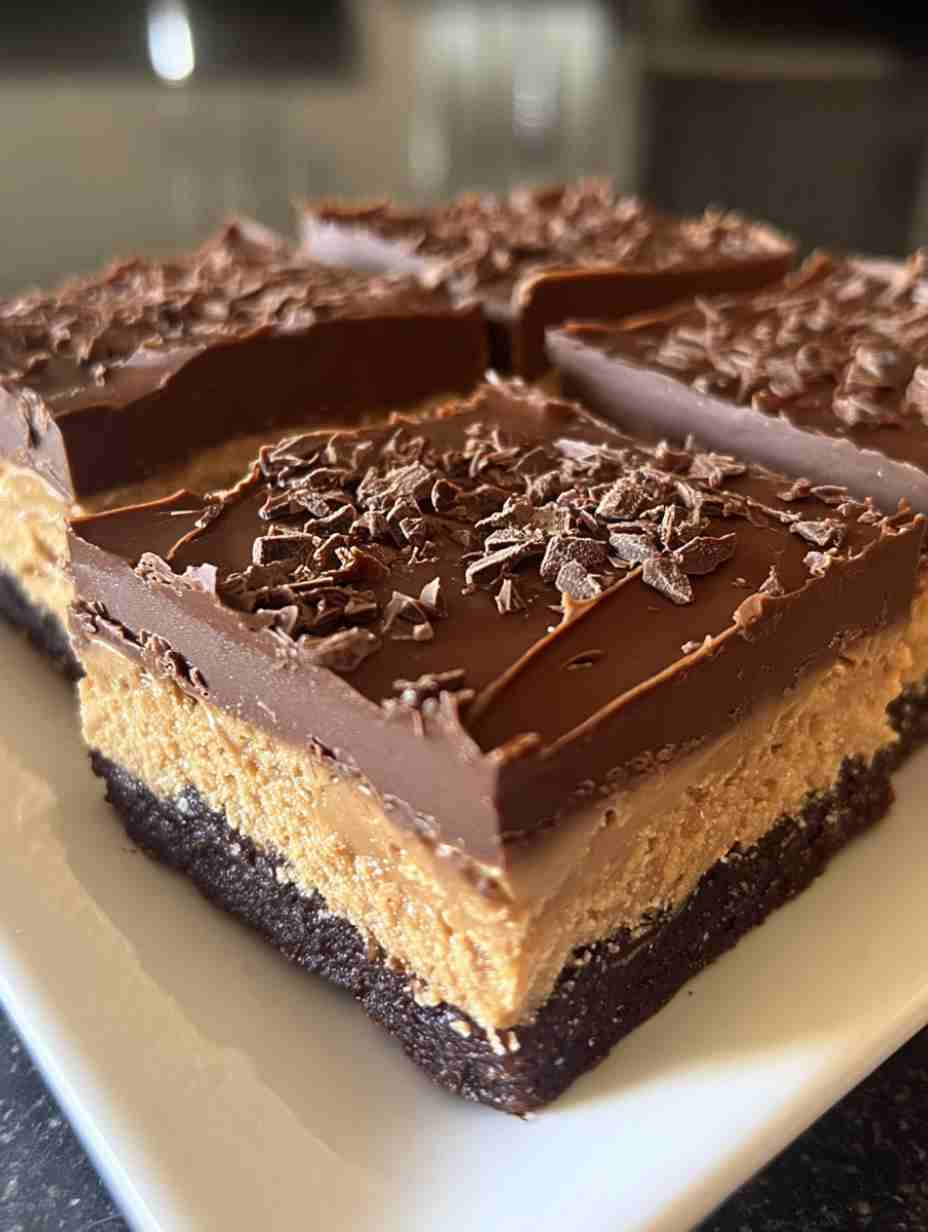
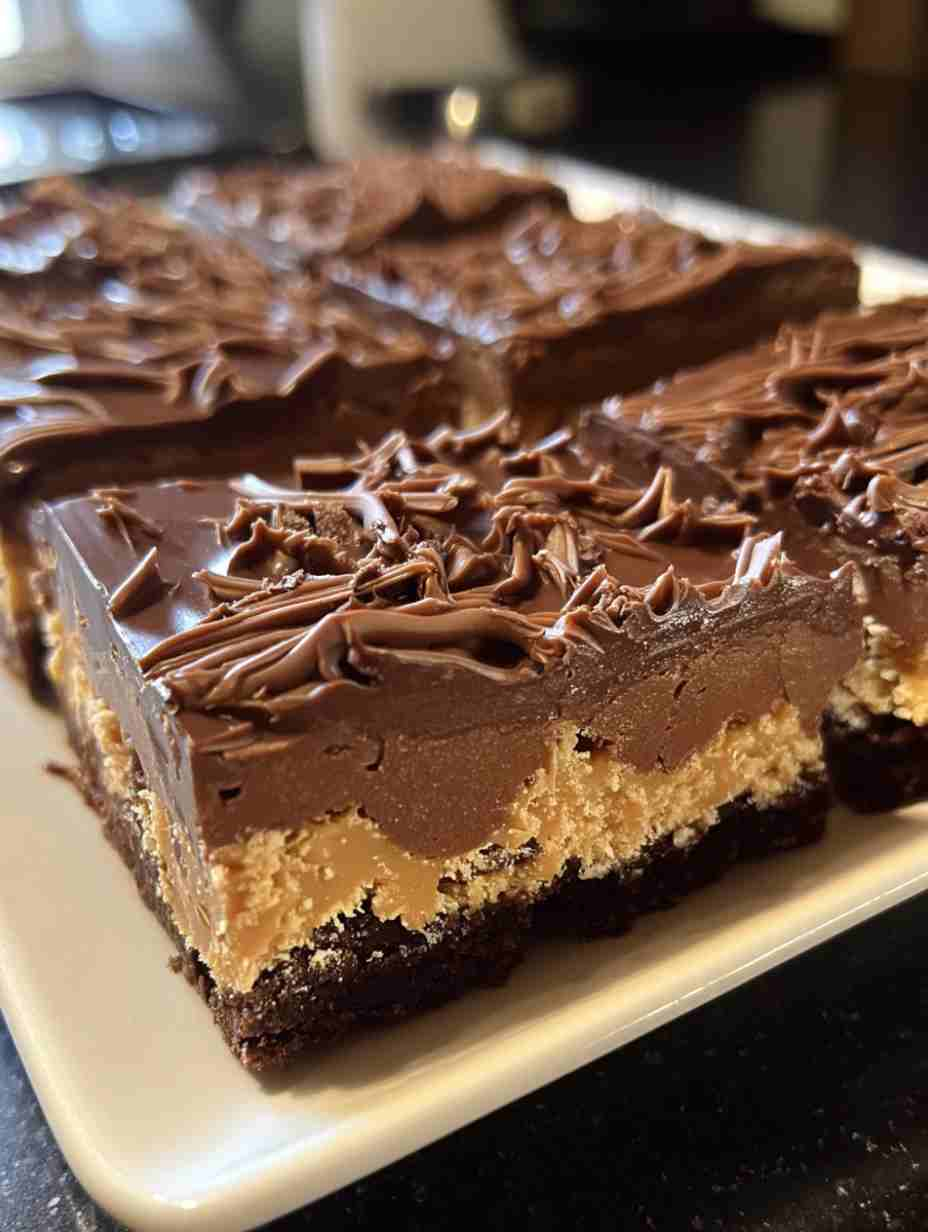
If you’re searching for the ultimate no-bake dessert that’s rich, creamy, and guaranteed to impress, these Chocolate Peanut Butter Dream Bars will quickly become your new favorite. Imagine layers of crushed chocolate cookie crust, silky peanut butter cream, velvety chocolate pudding, and a cloud of whipped topping, all coming together in one irresistible bite. This dessert is the perfect balance of chocolatey indulgence and nutty sweetness.
Whether you’re hosting a dinner party, planning a holiday dessert table, or just craving a decadent treat for your family, these bars check every box. They’re simple to make, require no oven time, and deliver a stunning presentation that looks like it came straight from a bakery. If you love comfort food desserts, easy party food recipes, or chocolate peanut butter desserts, this recipe was made for you.
Why You’ll Love This Recipe
No-bake dessert: Perfect for hot days or when you don’t want to turn on the oven.
Layered flavor: Every bite delivers chocolate crunch, creamy peanut butter filling, and rich pudding.
Family-friendly: Loved by kids and adults alike, making it a guaranteed crowd-pleaser.
Make-ahead friendly: Prepare the night before and chill until serving.
Versatile: Dress it up with chocolate curls for parties or keep it simple for an everyday treat.
Ingredient Breakdown
Here’s a closer look at the key ingredients that make these dream bars so decadent:
Chocolate sandwich cookies: Provide the base crust, offering a sweet crunch that anchors the dessert.
Unsalted butter: Binds the cookie crumbs together for a firm, sliceable crust.
Creamy peanut butter: Adds that rich, nutty flavor while keeping the filling smooth and luscious.
Cream cheese: Balances the sweetness with a touch of tang and adds structure to the peanut butter layer.
Powdered sugar: Sweetens the filling without grittiness, keeping it silky smooth.
Whipped topping: Creates a light, airy texture that balances the richness of the other layers.
Instant chocolate pudding mix: Infuses the dessert with deep chocolate flavor and a creamy consistency.
Milk: Activates the pudding mix, ensuring the chocolate layer sets perfectly.
Chocolate curls or shavings: A simple garnish that elevates presentation and adds texture.

Pro Tips for Success
Chill between layers: Refrigerate the crust and peanut butter layer before adding pudding. This keeps layers distinct and prevents mixing.
Use room temperature cream cheese: It blends more smoothly with peanut butter, avoiding lumps.
Don’t rush the chill time: For the best texture, let the bars set for at least 4 hours, or overnight if possible.
Sharp knife for slicing: Wipe your knife between cuts for clean, bakery-style slices.
Upgrade your garnish: Add chopped peanuts, mini chocolate chips, or a drizzle of melted peanut butter for extra flair.
Ingredient Swaps and Variations
Want to customize your Chocolate Peanut Butter Dream Bars? Here are a few delicious ideas:
Cookie base: Swap chocolate sandwich cookies for graham crackers, peanut butter cookies, or chocolate graham crackers.
Peanut butter: Use crunchy peanut butter for added texture, or try almond butter for a twist.
Whipped topping alternative: Replace with homemade whipped cream for a fresher, less sweet option.
Flavor twist: Mix instant vanilla or peanut butter pudding instead of chocolate for a lighter flavor.
Gluten-free version: Use gluten-free sandwich cookies to make this recipe safe for gluten-sensitive guests.
Serving Suggestions
These dream bars are versatile and can shine in many settings:
Party platter centerpiece: Garnish with chocolate curls and a drizzle of peanut butter for a show-stopping dessert.
Casual family treat: Serve chilled squares with a glass of cold milk.
Dinner party finale: Plate each slice with a drizzle of chocolate sauce and fresh berries for a restaurant-style touch.
Holiday dessert table: Pair with other no-bake favorites like trifles, cheesecakes, or fudge.
Make Ahead + Storage Tips
One of the best parts of this recipe is how well it stores and holds up over time.
Make ahead: Assemble the entire dessert up to 24 hours before serving. It actually tastes better once chilled overnight.
Refrigeration: Store leftovers in an airtight container in the fridge for up to 5 days.
Freezing: You can freeze individual slices by wrapping them tightly in plastic wrap and placing them in a freezer-safe container for up to 2 months. Thaw in the refrigerator overnight before serving.
Avoid sogginess: Always keep the bars chilled; they will soften quickly if left out at room temperature.
Cultural or Historical Notes
Chocolate and peanut butter have long been considered one of the most beloved flavor pairings in American dessert culture. The popularity of Reese’s peanut butter cups in the 1920s cemented this combo as a timeless favorite. Recipes like these dream bars take inspiration from that classic pairing, layering it into a comforting, easy-to-serve treat that feels nostalgic yet indulgent.
Frequently Asked Questions (FAQ)
Can I make this dessert without cream cheese?
Yes! You can replace cream cheese with mascarpone or even more whipped topping. The texture will be slightly softer, but it will still taste amazing.
Do I have to use whipped topping, or can I make my own whipped cream?
Homemade whipped cream works beautifully here. Just be sure to stabilize it with a little powdered sugar so it holds up as well as store-bought whipped topping.
How do I keep the cookie crust from crumbling?
Make sure to press the cookie mixture firmly into the pan and refrigerate it before adding the next layer. The melted butter helps hold it together.
Can I make this dessert dairy-free?
Yes. Use dairy-free butter, cream cheese alternative, coconut whipped cream, and plant-based milk with a vegan pudding mix. The result will be just as creamy and delicious.
What’s the best way to slice these bars neatly?
Chill thoroughly before slicing, and use a sharp knife dipped in hot water. Wipe the knife clean between cuts for sharp, clean edges.

Chocolate Peanut Butter Dream Bars
Ingredients
Equipment
Method
- In a medium bowl, combine crushed chocolate sandwich cookies and melted butter. Press this mixture into the bottom of a 9x13 inch baking dish to form a crust. Refrigerate while preparing the next layer.
- In a large bowl, mix together peanut butter, cream cheese, and powdered sugar until smooth. Fold in the whipped topping.
- Spread the peanut butter mixture over the cookie crust and return to the refrigerator to set while preparing the pudding layer.
- In another bowl, whisk together the chocolate pudding mix and milk until the pudding begins to thicken. Spread the pudding evenly over the peanut butter layer.
- Chill the dessert for at least 4 hours, or until set.
- Before serving, top with additional whipped topping and sprinkle with chocolate curls for garnish. Slice and serve.


