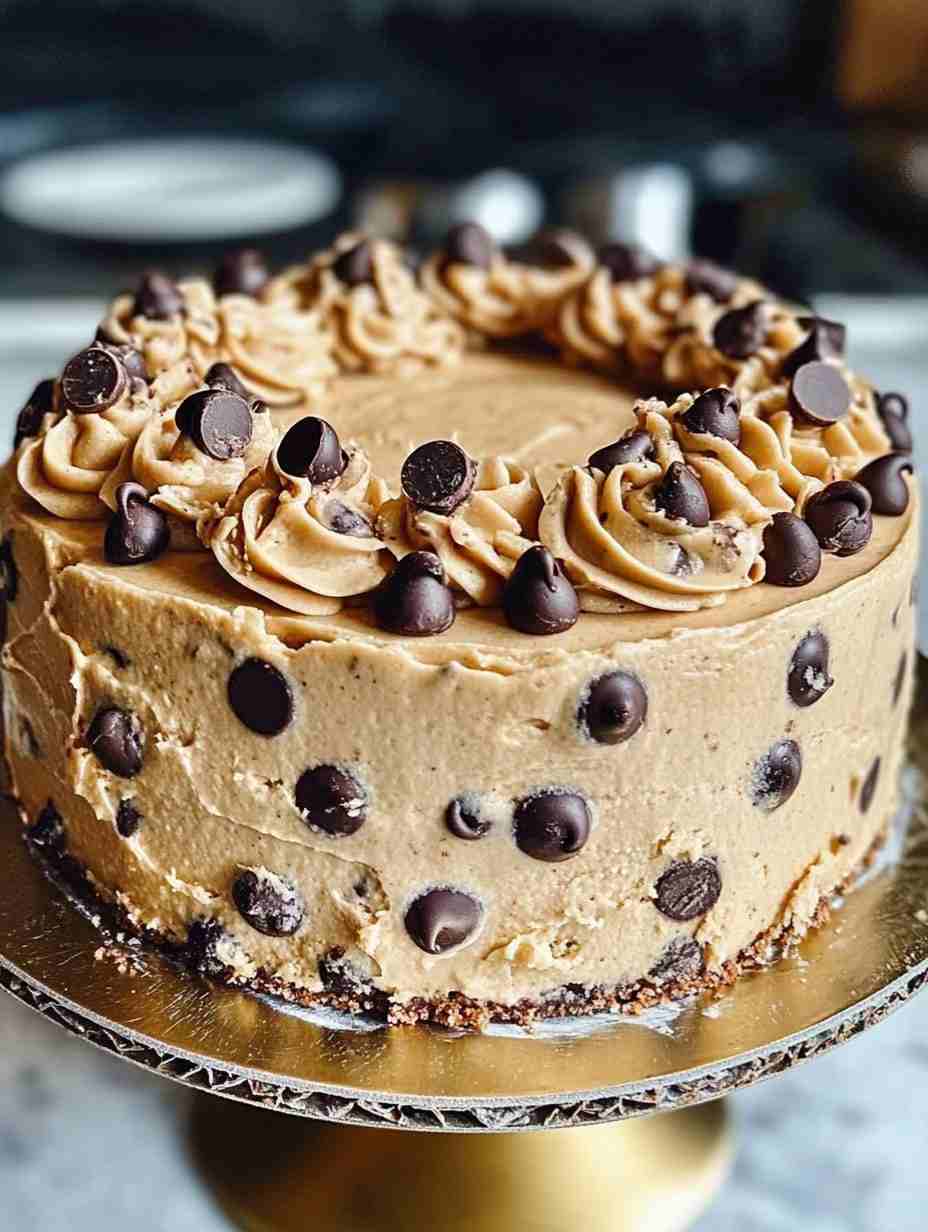
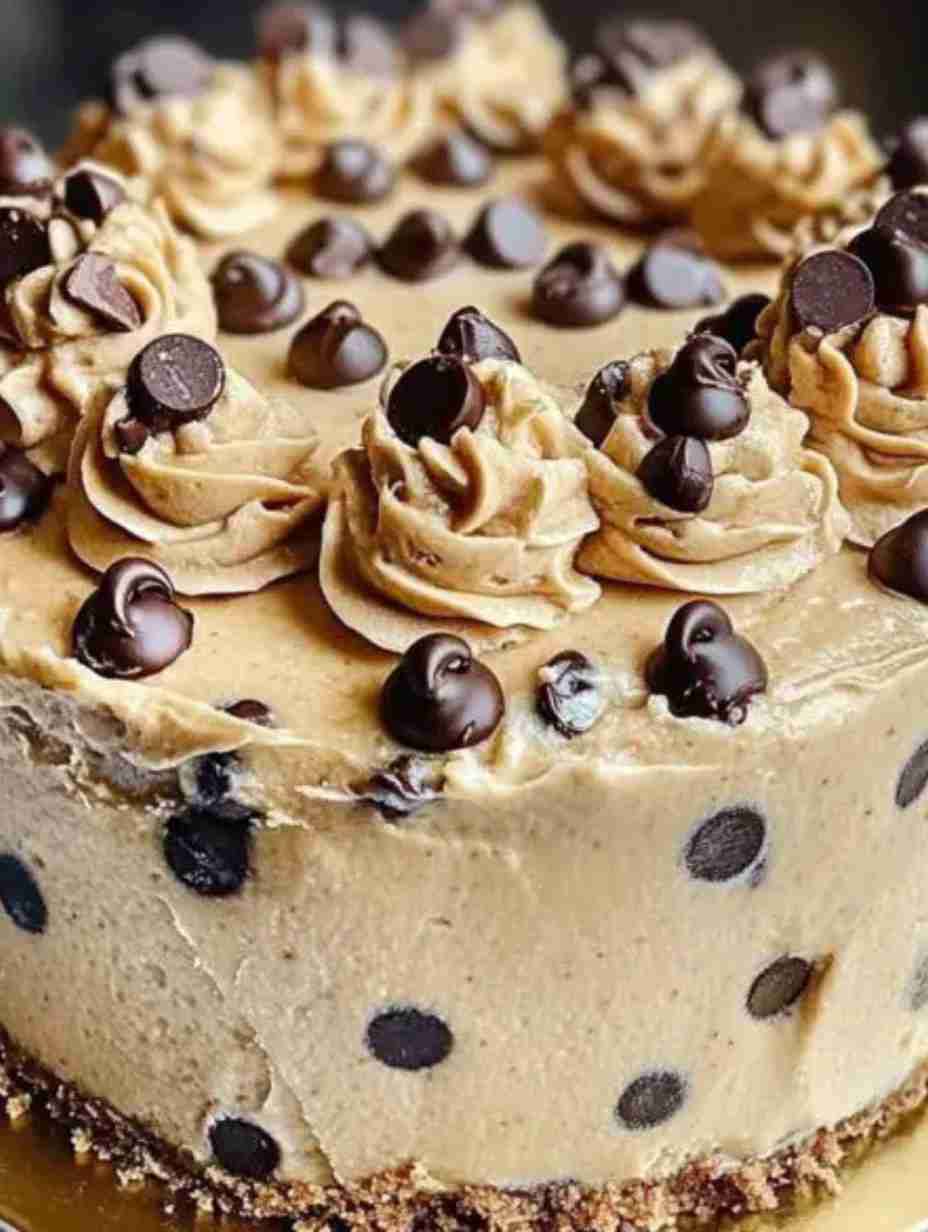
This Frozen Chocolate Chip Cookie Dough Cake is the ultimate indulgence for cookie dough lovers and ice cream fanatics alike. With a chewy baked cookie base, a thick layer of vanilla ice cream, and a soft, sweet crumble of raw cookie dough on top, every bite is creamy, gooey, and irresistibly rich. Whether you’re hosting a party, looking for a birthday cake alternative, or just want a dessert that screams comfort food with a twist, this frozen treat delivers big-time flavor with minimal effort.
Perfect for hot summer days, easy make-ahead desserts, or decadent party food tables, this recipe uses store-bought cookie dough and a few classic ingredients to create a frozen masterpiece that’s as fun to make as it is to eat.
Why You’ll Love This Recipe:
Uses store-bought cookie dough for zero fuss
Freezer-friendly and perfect for make-ahead dessert prep
Combines cookies and ice cream in one show-stopping treat
A kid-approved birthday party favorite
Customizable with your favorite toppings
No decorating skills required
Ingredient Breakdown:
Chocolate Chip Cookie Dough: Store-bought dough keeps this recipe simple and consistent, acting as both the baked base and a soft crumble topping.
Vanilla Ice Cream: Creamy and sweet, it provides a cool contrast to the chewy cookie base and doughy top.
Whipped Topping: Light and fluffy, it finishes the cake with an airy, creamy layer.
Mini Chocolate Chips: Optional garnish that adds texture and chocolatey flair to every bite.
Pro Tips:
Let the ice cream sit at room temperature for 10 minutes before spreading—it’ll be easier to handle.
For even layers, use an offset spatula when spreading ice cream and whipped topping.
Run a knife under hot water before slicing for clean, picture-perfect cuts.
Freeze overnight for a firmer, easier-to-slice cake.
Use parchment paper to line the sides of the pan for cleaner edges after freezing.
Ingredient Swaps or Variations:
Ice Cream Flavors: Swap vanilla for cookie dough, chocolate, or coffee ice cream.
Dough Options: Use homemade cookie dough or peanut butter cookie dough for a fun twist.
Toppings: Add chopped nuts, caramel drizzle, or crushed Oreos.
Dairy-Free: Use dairy-free ice cream and whipped topping for an allergen-friendly version.
Mini Version: Make individual cakes in muffin tins with liners.
Serving Suggestions:
Serve with hot fudge sauce or caramel drizzle on the side.
Pair with fresh berries or a tall glass of cold milk.
Add a scoop of whipped cream for extra flair.
Slice and serve with sparklers or candles for birthdays.
Make Ahead + Storage Tips:
Make Ahead: Assemble and freeze up to 3 days in advance. Add toppings just before serving.
Storage: Store leftovers tightly wrapped in the freezer for up to 1 week.
Re-slicing: Let the cake sit at room temp for 5 minutes before cutting to avoid crumbling.
Refreezing: It’s best eaten fresh, but you can refreeze slices if needed.
Cultural or Historical Notes:
This recipe plays on the nostalgic appeal of raw cookie dough and classic American ice cream cakes. It’s a modern fusion of bake-shop indulgence and frozen comfort food, ideal for celebrations or low-effort entertaining.
Frequently Asked Questions (FAQ):
Can I use homemade cookie dough?
Yes! Just ensure the dough is safe to eat raw (no eggs and heat-treated flour) if using it for the topping.
What’s the best way to soften the ice cream?
Let it sit at room temperature for 10–15 minutes before assembling.
Can I use a different pan?
A springform pan is ideal, but you can also use a cake pan lined with parchment—just make sure it’s deep enough.
How long should I freeze the cake before serving?
At least 4 hours, but overnight is best for clean slicing and structure.
Can I make it gluten-free?
Yes, just use a gluten-free cookie dough and ensure your ice cream and toppings are certified gluten-free.
Frozen Chocolate Chip Cookie Dough Cake (Easy No-Bake Dessert)
Ingredients
Equipment
Method
- Preheat your oven to 350°F (175°C). Line the bottom of a 9-inch springform pan with parchment paper for easy release.
- Press half of the cookie dough evenly into the bottom of the pan. Use your fingers or the back of a spoon to smooth it out. Tip: Wet your fingers slightly to keep the dough from sticking.
- Bake for 10–12 minutes, or until golden and just set. Cool completely in the pan—this step is crucial so the ice cream doesn’t melt on contact.
- Once the cookie base is fully cooled, spread the softened vanilla ice cream on top, creating an even, thick layer.
- Crumble the remaining half of the cookie dough over the ice cream layer. Gently press down so it adheres slightly without compressing the ice cream.
- Cover the cake with plastic wrap or foil. Freeze for 4 to 6 hours, or overnight for best results.
- Before serving, top with whipped topping and a sprinkle of mini chocolate chips. Run a warm knife around the edge of the pan and release the springform sides. Slice and enjoy!


