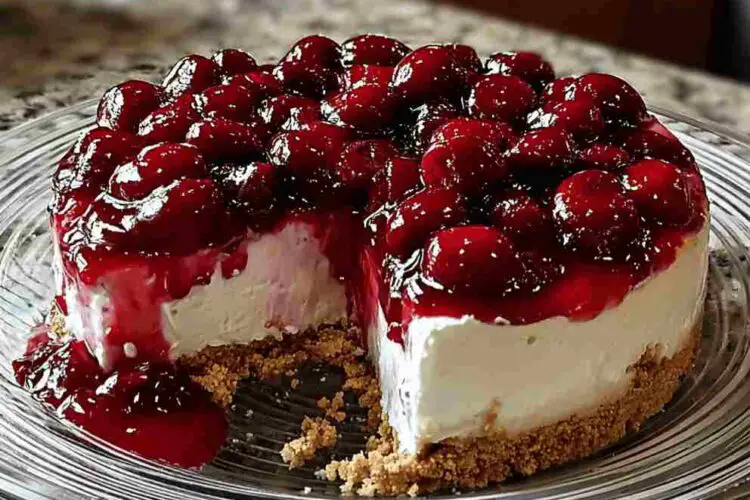
If you love rich, creamy desserts that take minimal effort, this No Bake Cherry Cheesecake is about to become your new favorite recipe. It’s smooth, luscious, and layered with a buttery graham cracker crust, velvety cheesecake filling, and sweet cherry pie topping. The best part? No oven required. This easy dessert combines everything you love about traditional cheesecake—its creamy texture and decadent flavor—but skips the baking process entirely. It’s the ultimate make-ahead dessert, ideal for summer gatherings, holidays, or any time you want something impressive without the stress. With its vibrant cherry topping and perfect balance of tangy and sweet, this No Bake Cherry Cheesecake tastes as good as it looks.
Why You’ll Love This Recipe
-
No oven required: Perfect for warm weather or busy kitchens.
-
Quick to make: Only 15 minutes of prep time before chilling.
-
Crowd-pleasing flavor: A creamy cheesecake base with sweet, tart cherries on top.
-
Perfect for entertaining: Great for holidays, potlucks, and dinner parties.
-
Beginner-friendly: Simple, foolproof steps anyone can follow.
-
Make-ahead dessert: Chill overnight for easy serving the next day.
Ingredient Breakdown
Graham Crackers: The base of the crust, adding a buttery, slightly sweet crunch. You can use store-bought crumbs or crush whole sheets at home.
Melted Butter: Binds the graham cracker crumbs together to form a sturdy crust.
Sugar: Enhances the flavor of the crust and balances the tanginess of the filling.
Cream Cheese: The star of the cheesecake layer—smooth, creamy, and slightly tangy for that signature cheesecake taste.
Cool Whip: Lightens the texture of the filling, creating a fluffy, mousse-like consistency. You can also use homemade whipped cream if preferred.
Powdered Sugar: Sweetens the filling while keeping it silky smooth.
Lemon Juice: Brightens the flavor and adds a subtle tang that balances the sweetness.
Cherry Pie Filling: Adds a glossy, fruity topping that makes the cheesecake visually stunning and deliciously sweet. You can substitute other pie fillings for variety.
Pro Tips for Perfect Results
-
Use room-temperature cream cheese: This ensures a lump-free, silky filling.
-
Chill the crust before adding the filling: Helps it hold together when sliced.
-
Don’t overmix: Once the filling is creamy, stop mixing to keep it airy.
-
Use a springform pan: It makes releasing and slicing the cheesecake effortless.
-
Add topping before serving: Keeps the cherries fresh and glossy.
Ingredient Swaps or Variations
-
Different Fruit Toppings: Replace cherry pie filling with blueberry, strawberry, or peach for seasonal variations.
-
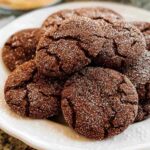
Chocolate Twist: Add a layer of chocolate ganache before topping with cherries.
-
Gluten-Free Version: Use gluten-free graham crackers for the crust.
-
Lightened-Up Option: Use reduced-fat cream cheese and light Cool Whip.
-
Mini Cheesecakes: Divide the crust and filling into muffin cups for individual portions.
Serving Suggestions
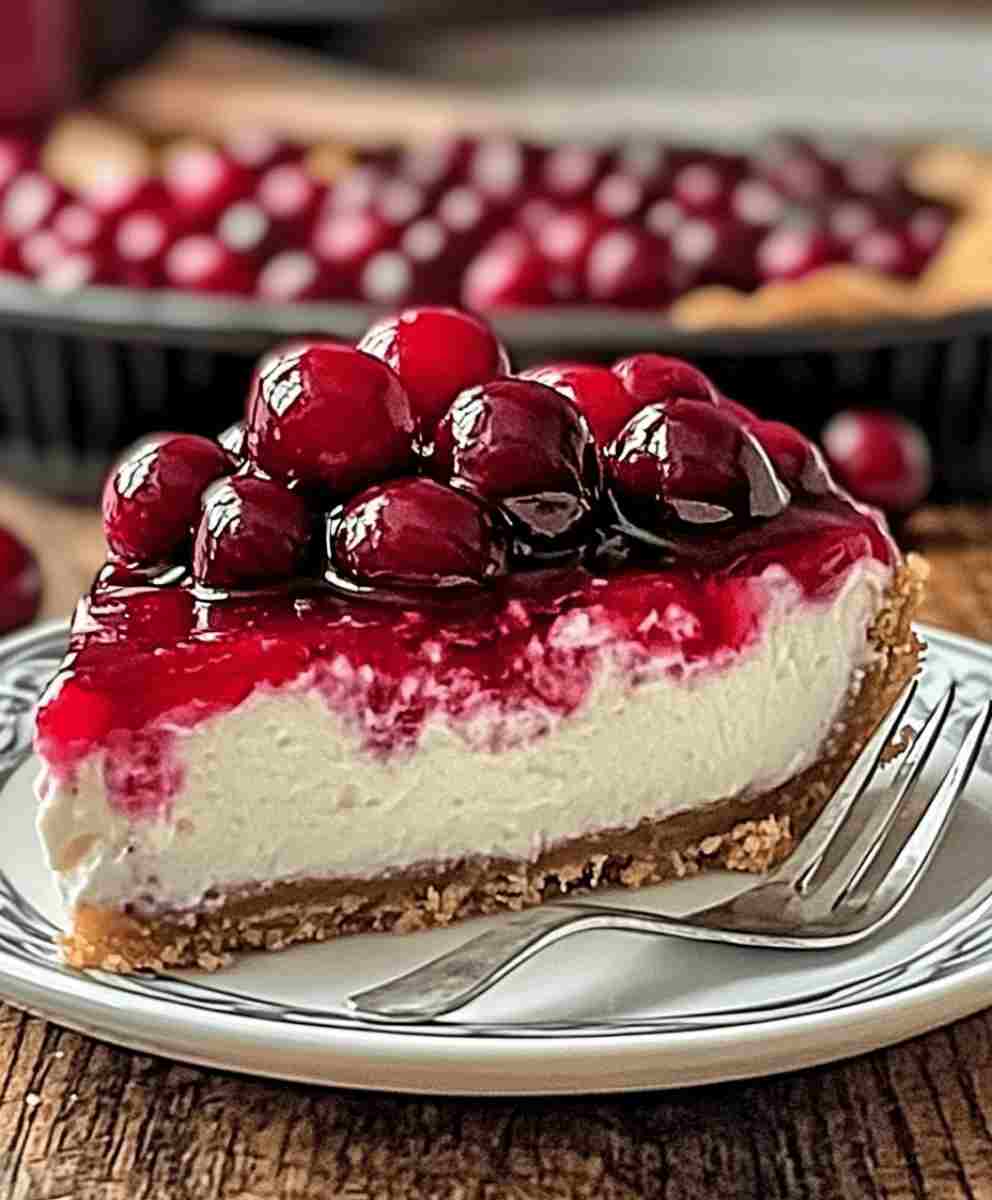
Serve this cheesecake chilled and topped with extra cherries for a stunning dessert centerpiece. Pair it with a drizzle of chocolate or caramel sauce, fresh whipped cream and mint leaves, a side of coffee or espresso, or vanilla ice cream for an indulgent touch. This easy no-bake dessert is perfect for holiday dinners, birthday celebrations, or summer parties when you want something refreshing and satisfying without turning on the oven.
Make Ahead + Storage Tips
Make Ahead: You can prepare the crust and filling a day in advance. Just add the cherry topping before serving.
Storage: Cover tightly and refrigerate for up to 5 days.
Freezing: Freeze the cheesecake (without topping) for up to 2 months. Thaw overnight in the refrigerator, then add cherries before serving.
Leftover Tip: Store slices in airtight containers to keep the crust crisp and filling creamy.
Cultural or Historical Notes
No-bake cheesecakes became popular in the 1940s when home cooks looked for quick desserts without the need for an oven. This No Bake Cherry Cheesecake is a modern take on that tradition—retaining the nostalgic taste of classic cheesecake but with a simpler, more approachable method. Its cool, creamy layers and sweet cherry topping make it a timeless favorite across generations.
Frequently Asked Questions (FAQ)
Can I use homemade whipped cream instead of Cool Whip?
Yes! Substitute 2 cups of freshly whipped cream for the Cool Whip for a richer, homemade taste.
How long should I chill the cheesecake?
At least 4 hours, but overnight chilling gives the best texture and flavor.
Can I make this ahead for a party?
Absolutely! It’s one of the best make-ahead desserts—just store it covered and add the topping before serving.
Can I use a different crust?
Yes, try chocolate cookie crumbs or vanilla wafers for a fun twist.
Can I use other pie fillings?
Of course! Blueberry, strawberry, or raspberry pie fillings all work beautifully.
No Bake Cherry Cheesecake Recipe
Ingredients
Equipment
Method
- In a bowl, mix crushed graham cracker sheets, melted butter, and sugar until combined. Press the mixture into the bottom of a springform pan.
- In a separate bowl, beat cream cheese until smooth. Add Cool Whip, powdered sugar, and lemon juice, and mix until creamy and well combined.
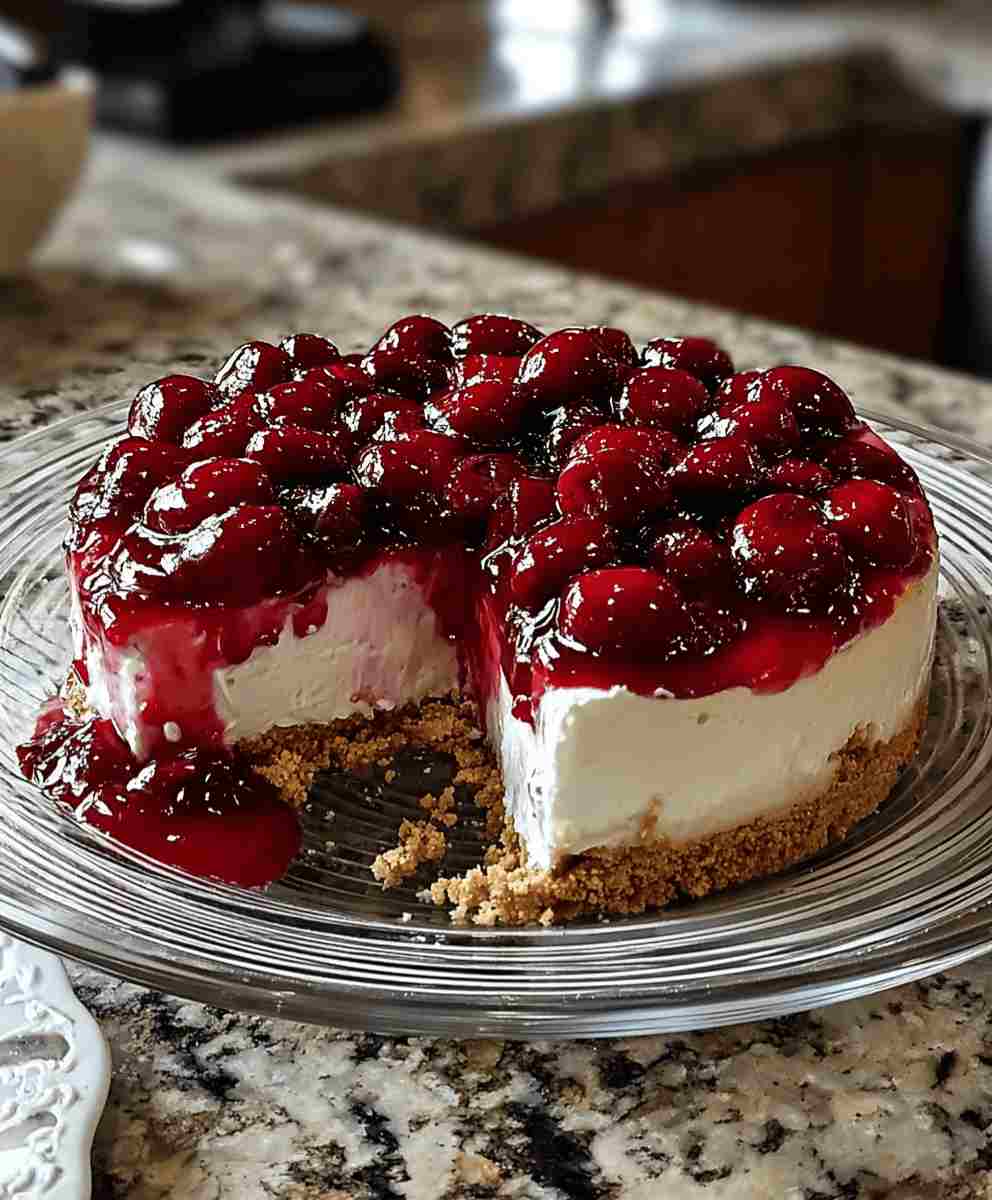
- Pour the cheesecake filling over the prepared crust and smooth the top with a spatula. Refrigerate for at least 4 hours or until set.
- Once the cheesecake is set, spread the cherry pie filling over the top. Chill for an additional hour before serving.