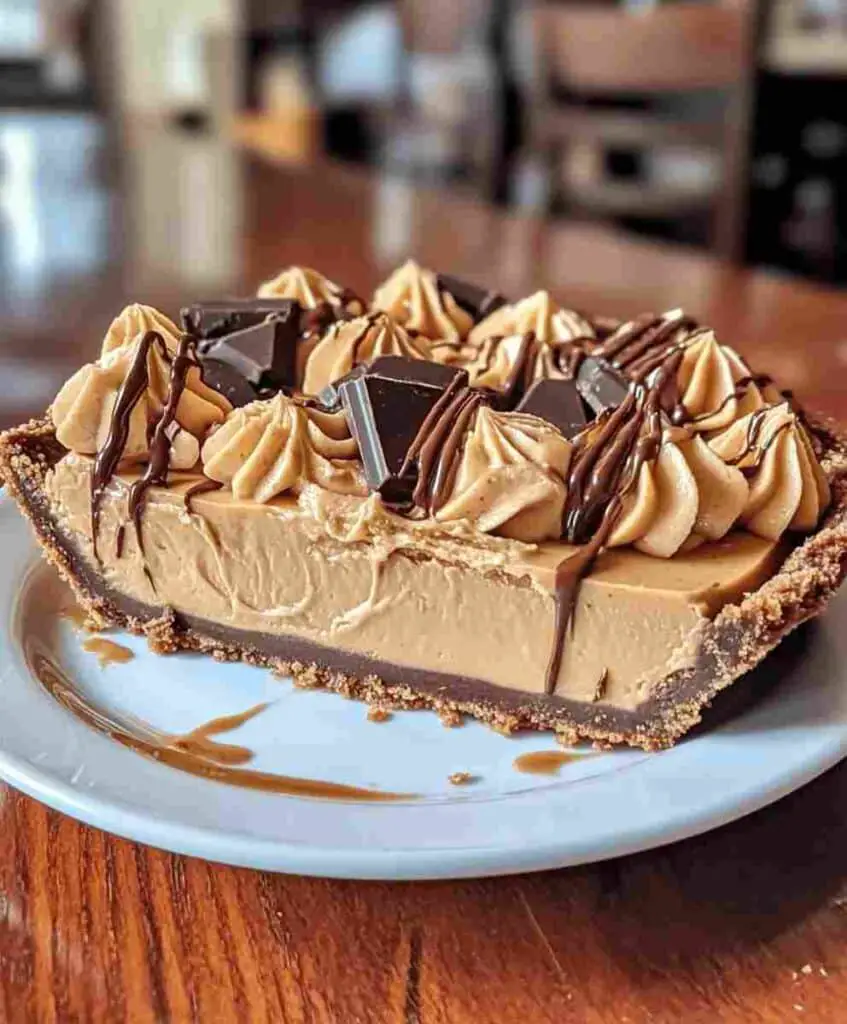
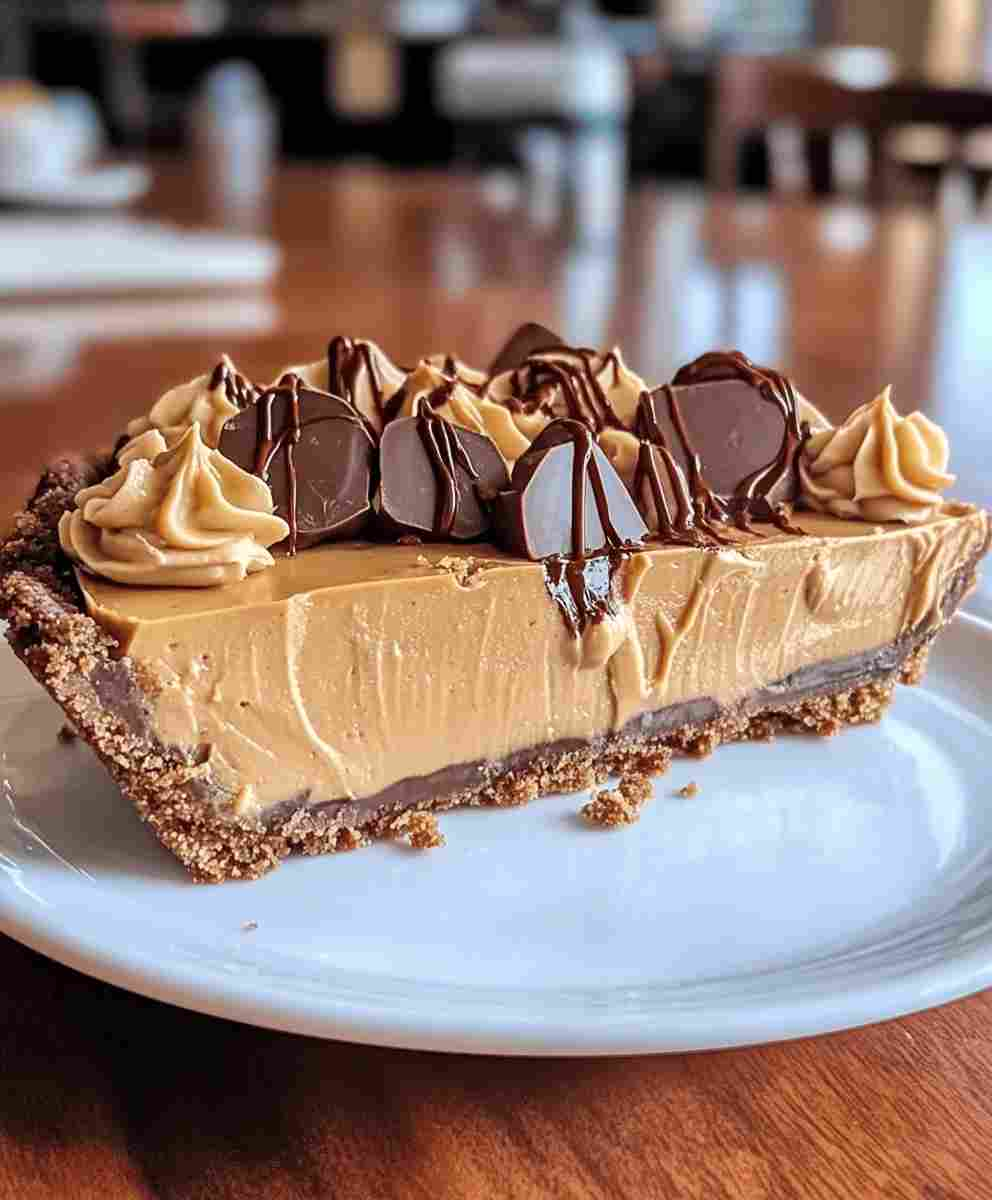
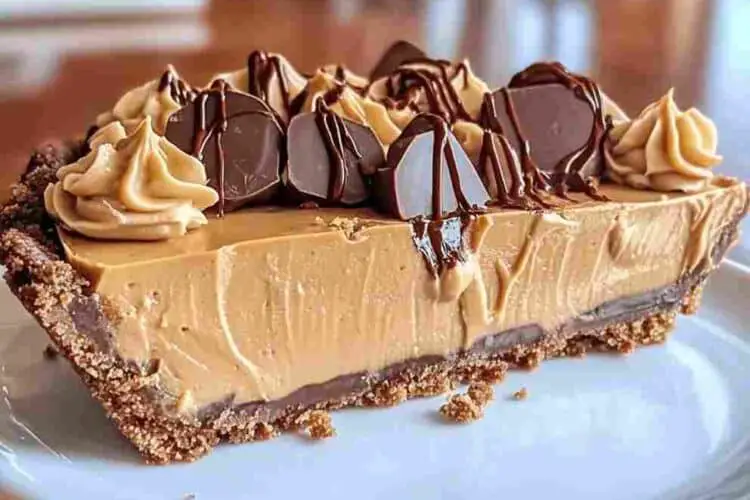
If there’s one dessert that delivers both decadence and simplicity, it’s this No-Bake Chocolate Peanut Butter Pie. Imagine a buttery graham cracker crust layered with smooth, rich chocolate, topped with a fluffy, creamy peanut butter filling that tastes like a Reese’s cup in pie form. Finished with swirls of peanut butter, drizzles of chocolate, and crunchy toppings, this dessert is nothing short of irresistible.
The best part? You don’t even need to turn on the oven. That makes it perfect for warm weather, last-minute gatherings, or anytime you want to whip up an easy dessert recipe without the hassle of baking. This pie is the perfect blend of family comfort food and gourmet indulgence, with a silky, mousse-like texture that melts in your mouth.
Whether you’re preparing a budget-friendly holiday dessert, a quick make-ahead recipe for parties, or just a sweet treat to keep in the fridge, this no-bake pie checks all the boxes. It’s simple enough for beginner bakers but elegant enough to wow your guests.
Why You’ll Love This No-Bake Pie
- No Oven Required – Perfect for summer entertaining or when you don’t want to heat up the kitchen.
- Quick & Easy – Just 20 minutes of prep, then the fridge does the work.
- Budget-Friendly Dessert – Made with pantry staples like graham crackers, chocolate chips, and peanut butter.
- Rich & Creamy Flavor – The chocolate layer balances beautifully with the light, whipped peanut butter filling.
- Make-Ahead Friendly – Chill overnight for a stress-free party dessert.
- Crowd-Pleasing Comfort Food – Tastes like a giant peanut butter cup in pie form—kids and adults both love it.
Ingredient Breakdown
Each layer plays a key role in making this dessert unforgettable:
For the Graham Cracker Crust
- Graham Cracker Crumbs (1 ½ cups) – Provide a sweet, toasty base that pairs perfectly with peanut butter and chocolate. For gluten-free recipes, use gluten-free graham crackers.
- Granulated Sugar (¼ cup) – Adds sweetness and helps bind the crust.
- Unsalted Butter, Melted (6 tbsp) – Acts as the glue that holds the crust together and adds richness.
For the Chocolate Layer
- Semi-Sweet Chocolate Chips (1 cup) – Give the pie a fudgy base layer. Semi-sweet is ideal for balance, but dark chocolate chips create a richer flavor.
- Unsalted Butter (2 tbsp) – Creates a smooth, glossy chocolate layer.
- Milk or Heavy Cream (1–2 tbsp, optional) – Thins the chocolate slightly for easier spreading.
For the Peanut Butter Filling
- Full-Fat Cream Cheese, Softened (8 oz) – Creates a tangy, creamy base that stabilizes the filling.
- Creamy Peanut Butter (1 cup) – The star of the pie, giving it that classic peanut butter cup flavor.
- Powdered Sugar, Sifted (1 cup) – Sweetens and smooths the filling.
- Pure Vanilla Extract (1 tsp) – Enhances the peanut butter’s natural flavor.
- Heavy Whipping Cream, Very Cold (1 ½ cups) – Whipped to stiff peaks, this transforms the filling into a light, airy mousse.
For Garnish & Topping
- Chocolate Syrup or Ganache (½ cup) – Adds an elegant drizzle and more chocolate flavor.
- Milk Chocolate Chips (½ cup) – Extra texture and sweetness.
- Mini Peanut Butter Cups (optional) – Perfect for a Reese’s-inspired topping.
- Reserved Peanut Butter Filling (¼ cup) – For piping decorative swirls.

Pro Tips for Perfect Results
- Chill the Crust – Refrigerating the crust for at least 15 minutes helps it firm up, making slicing easier.
- Use Cold Cream – Heavy cream whips best when very cold. For best results, chill your mixing bowl and beaters too.
- Don’t Overmix the Filling – Fold whipped cream gently into the peanut butter base to keep the texture light and airy.
- Make Ahead – This pie sets best if chilled overnight, so plan ahead.
- Presentation Trick – Warm your knife under hot water before slicing for clean, sharp cuts.
Ingredient Swaps & Variations
This no-bake pie is versatile and easy to adapt:
- Gluten-Free Recipes – Use gluten-free graham crackers or even almond flour for the crust.
- Low-Sugar Option – Use sugar-free chocolate chips and powdered monk fruit sweetener.
- Nut-Free Variation – Substitute sunflower seed butter for peanut butter.
- Cookie Crust Twist – Try crushed Oreos or chocolate cookies for a richer base.
- Extra Flavor Boost – Swirl caramel or butterscotch sauce into the peanut butter filling before chilling.
Serving Suggestions
This indulgent dessert pairs well with both light and decadent sides:
- After Dinner Treat – Serve after a simple family meal for a sweet finish.
- Holiday Dessert Table – Add alongside pies, cheesecakes, and cookies for variety.
- Best Side Dishes – Fresh strawberries, raspberries, or a fruit salad cut the richness.
- Party Food Idea – Slice into mini squares and serve as bite-sized desserts at gatherings.
- Frozen Treat – Chill and then freeze for a firmer, ice-cream-like pie.
Make Ahead + Storage Tips
- Refrigerate – Cover loosely with plastic wrap or foil and store in the fridge for up to 4 days.
- Freeze for Later – Wrap tightly in plastic and foil, and freeze for up to 2 months. Thaw overnight in the fridge before serving.
- Meal Prep Hack – Assemble in small jars or cups instead of a full pie for portion-controlled desserts.
- Leftover Recipe Hack – Crumble leftover slices and layer with whipped cream and fruit for a quick trifle.
Cultural or Historical Notes
Peanut butter pie has roots in classic American comfort food desserts, especially popular in the South and Midwest. Versions often include whipped cream, cream cheese, or pudding for the filling. The no-bake method became popular in the mid-20th century when home cooks embraced easy dessert recipes that saved time and worked well with new refrigeration methods. Today, no-bake pies are still loved for their family-friendly, budget-conscious appeal.
Frequently Asked Questions (FAQ)
1. Can I make this pie ahead of time?
Yes! This pie is perfect for make-ahead desserts. Chill overnight for the best texture and flavor.
2. How do I store leftovers?
Keep covered in the refrigerator for up to 4 days or freeze for up to 2 months.
3. Can I make this pie healthier?
Try using light cream cheese, reduced-fat whipped topping, and sugar-free chocolate chips for a lighter version.
4. What substitutions work for allergies?
Nut allergies? Use sunflower seed butter instead of peanut butter. Gluten-free? Swap in gluten-free cookies for the crust.
5. Can I make this into mini pies?
Absolutely! Press crust into muffin tins or small jars, then layer with chocolate and peanut butter filling for individual servings.

No-Bake Chocolate Peanut Butter Pie
Ingredients
Equipment
Method
- In a medium bowl, combine graham cracker crumbs, sugar, and melted butter. Mix until evenly moistened.Press firmly into the bottom and sides of a 9-inch pie plate. Chill for 15–20 minutes.
- Melt semi-sweet chocolate chips and butter in a microwave-safe bowl in 30-second intervals, stirring until smooth. Stir in milk/cream if desired. Spread evenly over crust and chill 15–20 minutes.
- Beat cream cheese and peanut butter until smooth. Mix in powdered sugar and vanilla. In another bowl, whip cold cream until stiff peaks form. Gently fold whipped cream into peanut butter mixture until light and airy, reserving 1/4 cup if piping.
- Spread peanut butter filling over the chocolate layer. Cover and refrigerate at least 4 hours or overnight until firm.
- Drizzle with chocolate syrup or ganache, sprinkle with chocolate chips and chopped peanut butter cups, and pipe swirls if desired. Serve cold.


