
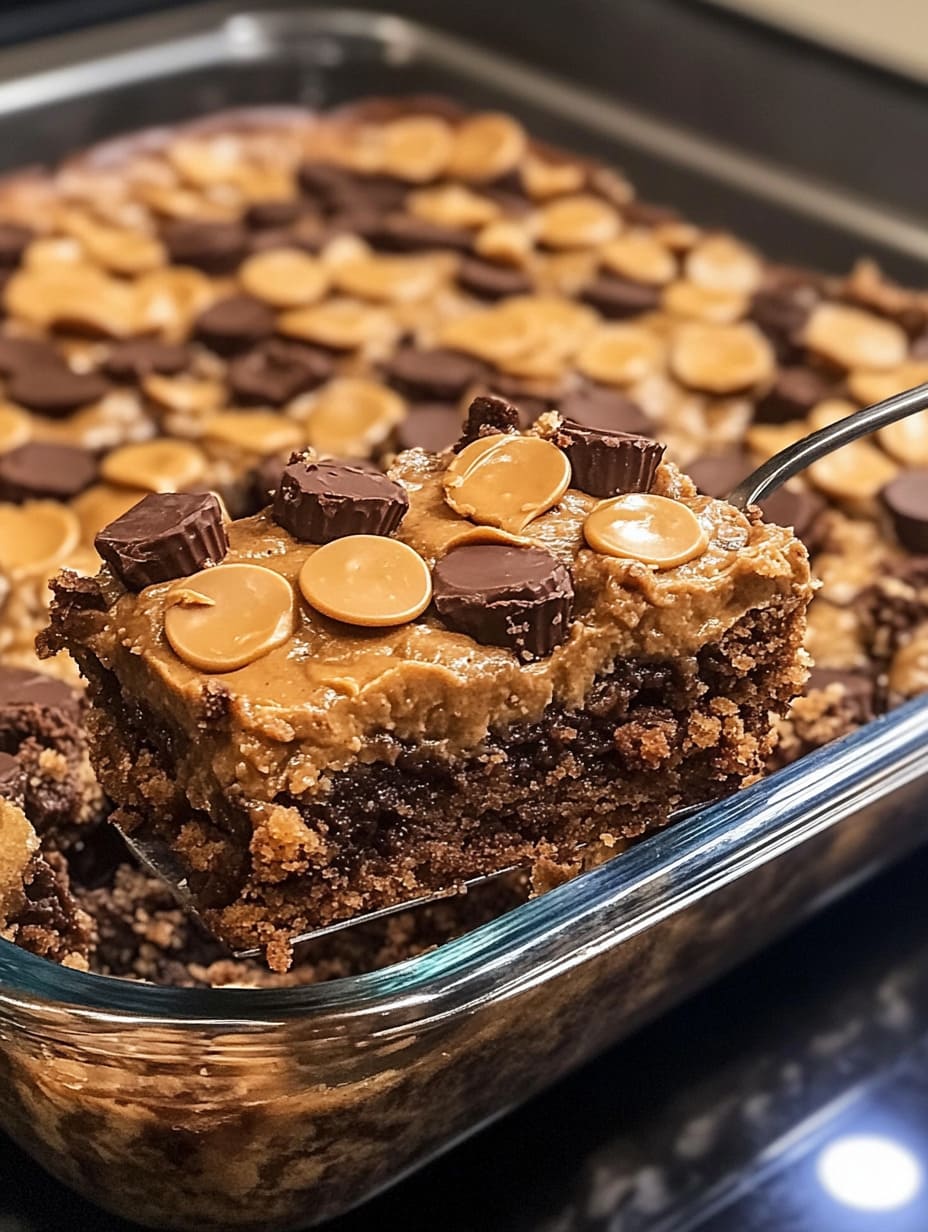
If you’re a fan of chocolate and peanut butter, this Peanut Butter Cup Dump Cake is a dream come true. With gooey layers of chocolate pudding, swirls of creamy peanut butter, and pockets of melty peanut butter cups, this no-fuss dessert is rich, decadent, and perfect for any occasion. Whether you need an easy dessert for a crowd, a potluck treat, or a cozy weeknight indulgence, this dump cake delivers maximum flavor with minimal effort.
No stand mixer. No bowls stacked high in the sink. Just layer, bake, and enjoy this rich chocolate and peanut butter dessert with a scoop of vanilla ice cream or a dollop of whipped cream.
Why You’ll Love This Recipe
-
Rich, chocolatey flavor with peanut butter swirls
-
No mixing bowls needed—just layer and bake
-
Kid-friendly and crowd-pleasing
-
Gooey center with crisp, buttery edges
-
Perfect for potlucks, holidays, or weeknight treats
-
Easily customizable with your favorite toppings
Ingredient Breakdown
Chocolate Cake Mix: The foundation of the dump cake. Use your favorite brand for a deep chocolate flavor.
Instant Chocolate Pudding Mix: Adds richness and creates a soft, gooey base layer.
Whole Milk: Combines with the pudding mix to form the first creamy layer.
Creamy Peanut Butter: Adds nutty flavor and richness. It melts into the layers beautifully.
Butter (Melted): Helps create a crisp, golden topping and binds the cake mix as it bakes.
Mini Peanut Butter Cups (Chopped): These melt into gooey, chocolate-peanut butter pockets—pure bliss.
Milk Chocolate Chips: Add even more creamy chocolate goodness in every bite.
Chopped Peanuts (Optional): Add crunch and a salty contrast to the sweetness.
Pro Tips
-
Don’t stir the layers—Dump cakes are all about layering, not mixing.
-
Swirl gently—You want the peanut butter marbled, not blended.
-
Use room temperature peanut butter for easier drizzling.
-
Try a glass baking dish for even baking and a clear view of those delicious layers.
-
Let it rest for 10–15 minutes after baking—it thickens as it cools.
Ingredient Swaps or Variations
-
Use peanut butter chips instead of milk chocolate for even more nutty flavor.
-
Swap in almond butter or hazelnut spread if you’re avoiding peanuts.
-
Try different candy—like chopped Snickers or Reese’s Pieces.
-
Add a layer of sliced bananas under the pudding for a banana-chocolate-peanut combo.
-
Make it gluten-free with your favorite gluten-free chocolate cake mix.
Serving Suggestions
-
Serve warm in bowls with vanilla ice cream or cold whipped cream.
-
Pair with a drizzle of warm caramel sauce or hot fudge for extra indulgence.
-
Garnish with extra chopped peanuts or peanut butter cups for crunch.
Make Ahead + Storage Tips
-
Make Ahead: Assemble up to 1 day in advance and refrigerate. Bring to room temperature before baking.
-
Leftovers: Store in the fridge in an airtight container for up to 4 days.
-
Reheat: Warm individual servings in the microwave for 20–30 seconds. For a crisp top, reheat in the oven at 325°F for 10 minutes.
Cultural or Historical Notes
Dump cakes are a classic American dessert dating back to the 1960s. Known for their simplicity, they gained popularity through church potlucks and community cookbooks. This peanut butter version is a nostalgic twist on the chocolate-lovers’ dream.
Frequently Asked Questions (FAQ)
Can I use crunchy peanut butter?
Yes, but it will add texture. For a smoother swirl, use creamy.
Can I make this with homemade pudding?
Stick to instant pudding for best results. Homemade pudding may not set properly in the oven.
Is it supposed to look gooey in the center?
Yes! The pudding layer stays soft and gooey—don’t overbake.
Can I use margarine instead of butter?
Butter gives better flavor and browning, but margarine works in a pinch.
Can I make this in a slow cooker?
Yes! Cook on high for 2½–3 hours, uncovered.