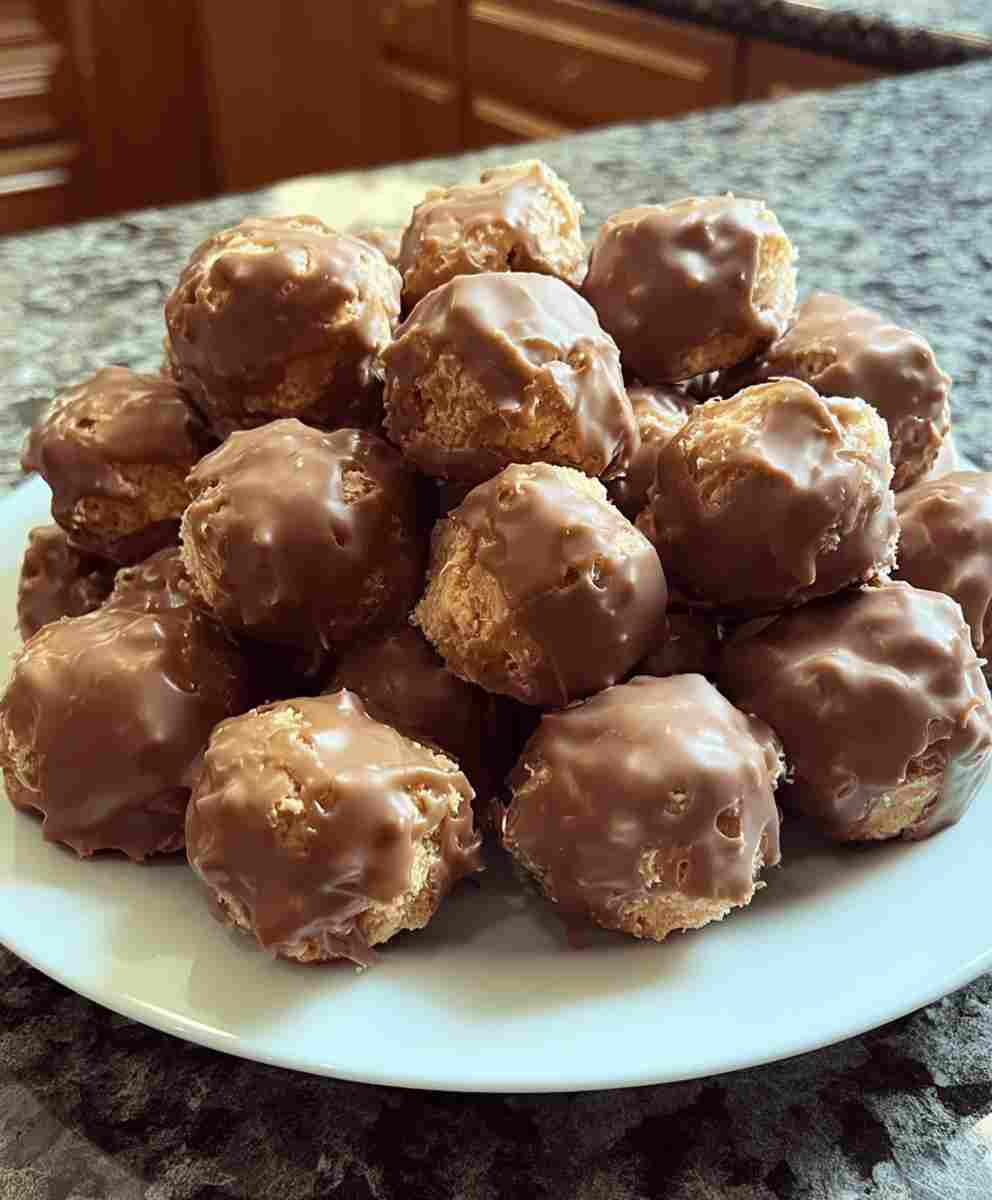
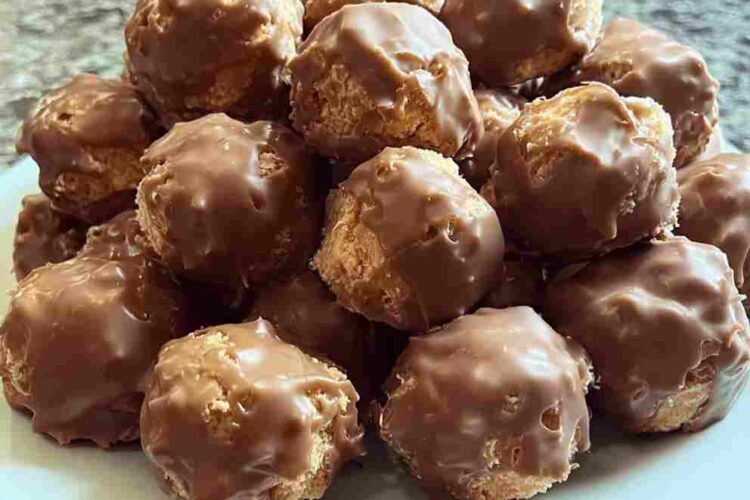
Butterfinger Balls are the kind of sweet treat that disappear almost as quickly as you make them. Rich peanut butter, crunchy graham cracker crumbs, and crushed Butterfinger candy bars come together in a smooth, creamy center, all wrapped in a glossy chocolate shell. Every bite delivers that unmistakable Butterfinger crunch paired with melt-in-your-mouth chocolate, making these irresistible for holiday platters, cookie exchanges, and last-minute dessert cravings.
If you’re searching for easy dessert ideas, budget-friendly holiday treats, or simple no-bake recipes that still feel indulgent, Butterfinger Balls check every box. They require no oven time, use everyday pantry ingredients, and come together with minimal effort—perfect for busy schedules, family gatherings, and festive celebrations.
Why You’ll Love This Recipe
• Easy no-bake dessert recipe with minimal prep
• Budget-friendly ingredients you can find anywhere
• Perfect for holiday parties, gifting, and cookie trays
• Beginner-friendly with no baking required
• Ideal for make-ahead desserts and freezer storage
• Sweet, crunchy, and creamy in every bite
Ingredient Breakdown
Peanut Butter – The base of the filling, peanut butter provides creamy texture and rich nutty flavor. Avoid all-natural varieties, as they can be too oily and prevent the mixture from holding its shape.
Butter – Softened butter adds richness and helps create a smooth, scoopable dough that firms up beautifully when chilled.
Powdered Sugar – Sweetens the mixture while also thickening it, ensuring the balls hold their shape after rolling.
Graham Cracker Crumbs – Add subtle sweetness and structure, balancing the creamy peanut butter with a light crunch.
Butterfinger Candy Bars – The star ingredient, crushed Butterfingers bring that signature crispy, caramelized crunch that makes these treats unforgettable.
Vanilla Extract – Enhances all the flavors and adds warmth to the filling.
Chocolate Bark or Chocolate Chips – Used for coating, creating a smooth, snappy shell that contrasts perfectly with the soft center.
Optional Garnishes – Extra crushed Butterfinger bars, festive sprinkles, or flaky sea salt elevate presentation and flavor.

Pro Tips
Chill the dough thoroughly before dipping to prevent melting and ensure clean chocolate coating.
Use a cookie scoop for evenly sized balls that look professional and uniform.
Melt chocolate slowly at low power to avoid scorching and grainy texture.
Let excess chocolate drip off before placing balls back on parchment for a smooth finish.
Add garnishes immediately after dipping, before the chocolate sets.
Ingredient Swaps or Variations
Use dark chocolate or white chocolate for a different flavor profile.
Swap graham cracker crumbs for crushed vanilla wafers or digestive biscuits.
Add a pinch of sea salt to the filling for a sweet-salty twist.
Use almond butter for a nutty variation, keeping texture in mind.
Make mini versions for party trays or larger ones for gift boxes.
Serving Suggestions
Butterfinger Balls are perfect served chilled on a festive dessert platter alongside fudge, truffles, and sugar cookies. They pair beautifully with hot cocoa, coffee, or holiday cocktails. For gifting, arrange them in decorative tins or boxes lined with parchment paper. These treats also make excellent additions to dessert tables and cookie exchanges.
Make Ahead + Storage Tips
These no-bake treats are ideal for meal prep and holiday planning. Butterfinger Balls can be stored in an airtight container in the refrigerator for up to one week. For longer storage, freeze them in a single layer before transferring to a freezer-safe container. They’ll keep well for up to two months. Thaw in the refrigerator or enjoy straight from the freezer for a firmer bite.
Cultural and Holiday Notes
Candy-based no-bake desserts like Butterfinger Balls have become a staple of American holiday traditions. Inspired by classic peanut butter balls and buckeye candies, these treats combine convenience with nostalgic candy-bar flavor. They’re especially popular during Christmas, when quick, make-ahead sweets are in high demand for parties and gift-giving.
Frequently Asked Questions
Can I make Butterfinger Balls ahead of time?
Yes, they’re perfect for making days or even weeks in advance when stored properly.
What’s the best way to store leftovers?
Keep them refrigerated in an airtight container or freeze for long-term storage.
Can I make this recipe without Butterfinger bars?
Yes, substitute with crushed toffee bars or peanut butter cups for a different twist.
Can I make these treats healthier?
Use reduced-sugar chocolate or portion smaller balls for moderation.
Why did my mixture turn too soft?
This usually happens if the peanut butter is too oily or the dough wasn’t chilled long enough.

Butterfinger Balls
Ingredients
Equipment
Method
- In a mixing bowl, beat peanut butter and softened butter together until smooth and creamy.
- Add vanilla extract and mix until fully incorporated.
- Gradually mix in powdered sugar on low speed, scraping down the sides as needed.
- Fold in graham cracker crumbs and crushed Butterfinger bars until evenly distributed.
- Scoop 1–1½ tablespoons of dough, roll into balls, and place on a parchment-lined baking sheet.
- Freeze the balls for about 30 minutes until completely firm.
- Melt chocolate in a microwave-safe bowl at 50% power in 30-second intervals, stirring between each.
- Dip chilled balls into melted chocolate. Decorate with extra candy, sprinkles, or sea salt if desired.
- Let chocolate set completely before serving or storing.


