
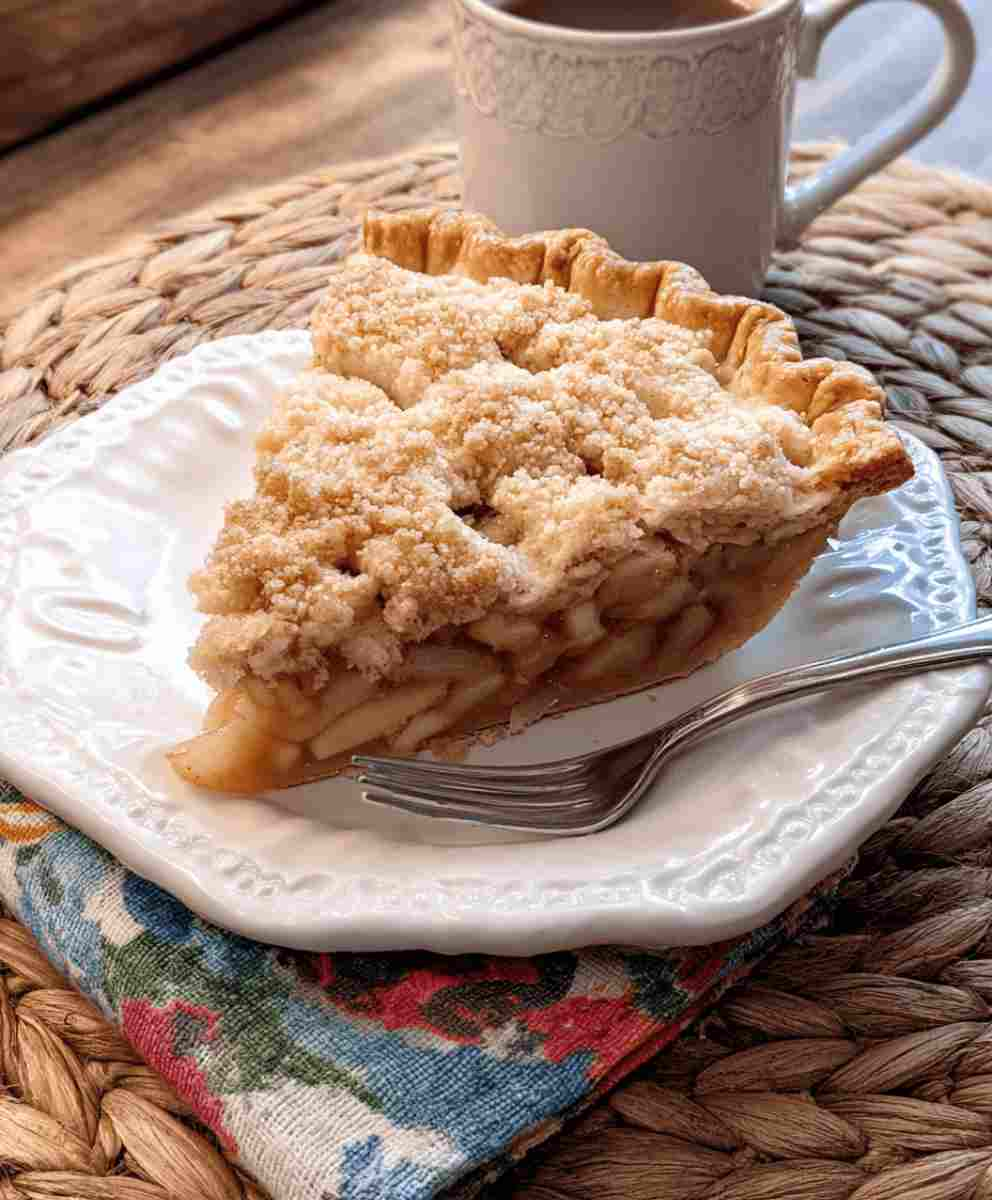
Cream Cheese Apple Pie is the perfect fusion of classic apple pie warmth and rich, creamy cheesecake-style filling, all wrapped in a buttery snickerdoodle cookie crust. Each bite delivers layers of cinnamon-spiced apples, velvety cream cheese, and a soft yet slightly crisp cookie crumble that melts in your mouth. This dessert feels nostalgic, indulgent, and comforting, making it ideal for holidays, potlucks, or cozy nights at home.
If you’re searching for easy dessert recipes that look impressive but come together with minimal effort, this Cream Cheese Apple Pie is a standout. It uses simple ingredients, budget-friendly shortcuts, and familiar flavors that appeal to all ages. Perfect for simple family recipes, affordable meals, and homemade comfort desserts, this pie brings bakery-style flavor straight to your kitchen without the stress.
Why You’ll Love This Recipe
• Easy dessert recipe using convenient store-bought ingredients
• Budget-friendly and perfect for feeding a crowd
• Creamy, rich filling paired with warm cinnamon apples
• Family-approved comfort food dessert
• Ideal make-ahead option for holidays and gatherings
• Beginner-friendly baking with impressive results
Ingredient Breakdown
Snickerdoodle Cookie Mix – Forms the base and crumble topping, adding buttery sweetness with warm cinnamon notes. This shortcut saves time while delivering homemade flavor.
Butter – Helps bind the cookie crumbs into a sturdy crust and creates a rich, golden crumble topping.
Cream Cheese – Provides a smooth, tangy, cheesecake-like layer that balances the sweetness of the apples and cookie crust.
Granulated Sugar – Sweetens the cream cheese filling without overpowering the apples.
All-Purpose Flour – Stabilizes the cream cheese filling, giving it structure and preventing it from becoming too soft.
Vanilla Extract – Enhances the overall flavor and adds warmth to the cream cheese layer.
Egg – Helps set the filling while maintaining a creamy texture.
Apple Pie Filling – Adds tender, cinnamon-spiced apples with minimal prep, making this a perfect affordable dessert shortcut.
Cinnamon – Boosts the apple flavor and ties together the cookie crust and filling for a cohesive taste.

Pro Tips
Always soften the cream cheese fully before mixing to ensure a smooth, lump-free filling, one of the most important healthy cooking tips for baked desserts.
Chop the apple pie filling slightly so the apples distribute evenly and slice cleanly.
Use a glass pie plate for even baking and easy monitoring of browning.
Let the pie cool completely before refrigerating to help the layers set properly.
Chill the pie for at least three hours before slicing for neat, bakery-style slices.
Ingredient Swaps or Variations
Swap the snickerdoodle cookie mix for sugar cookie mix or graham cracker crumbs for a different crust flavor.
Use homemade apple pie filling for a from-scratch version with less sugar.
Add chopped pecans or walnuts to the crumble topping for extra texture.
Use low-fat cream cheese to lighten the filling slightly while keeping it creamy.
Add caramel drizzle after baking for an extra indulgent twist perfect for holiday desserts.
Serving Suggestions
Cream Cheese Apple Pie is best served chilled or slightly cool, allowing the cream cheese layer to stay firm and creamy. Pair it with whipped cream or vanilla ice cream for a classic comfort dessert experience. For easy party food ideas, slice the pie into smaller portions and serve on dessert platters. This pie also works beautifully as a holiday dessert centerpiece alongside pumpkin pie and pecan pie.
Make Ahead + Storage Tips
This dessert is perfect for meal prep ideas and holiday planning. Bake the pie a day in advance and store it covered in the refrigerator until ready to serve. Leftovers keep well for up to five days when properly refrigerated. You can also freeze individual slices for up to two months, making it one of the best freezer dessert options. Thaw overnight in the refrigerator for best texture.
Cultural and Comfort Food Notes
Apple desserts are a cornerstone of American comfort food, especially during fall and holiday seasons. This Cream Cheese Apple Pie adds a modern twist by combining cheesecake-style filling with a cookie crust, blending two beloved dessert traditions into one irresistible treat. It’s a perfect example of how traditional family desserts can be refreshed while preserving their nostalgic charm.
Frequently Asked Questions
Can I make Cream Cheese Apple Pie ahead of time?
Yes, this pie is ideal for making ahead and tastes even better after chilling overnight, making it perfect for family meal prep and holidays.
What’s the best way to store leftovers?
Store leftovers covered in the refrigerator for up to five days to maintain freshness and texture.
Can I make this recipe healthier?
You can reduce sugar slightly, use low-fat cream cheese, or serve smaller portions for a lighter dessert option.
What substitutions work for dietary needs?
Gluten-free cookie mix and dairy-free cream cheese alternatives can be used with good results.
Can I use fresh apples instead of canned filling?
Yes, cook peeled apples with sugar and cinnamon until tender before using as a replacement.
Cream Cheese Apple Pie
Ingredients
Method
- Preheat the oven to 350°F (175°C). Grease a 9-inch glass pie plate.
- Place the cookie mix into a large bowl and cut in the softened butter using a pastry blender until crumbly.
- Press about 2 cups of the crumbs into the bottom and up the sides of the pie plate. Bake for 10 minutes, then set aside.
- Add 1 tablespoon melted butter to the remaining crumbs and toss to combine. Set aside for topping.
- In a medium bowl, beat the cream cheese until smooth. Add sugar and flour and mix well.
- Add vanilla and egg, beating until the mixture is smooth and creamy.
- In a small bowl, mix the chopped apple pie filling with cinnamon.
- Spread the cream cheese mixture evenly into the baked cookie crust.
- Spoon the apples over the cream cheese layer, using mostly apples and less gel.
- Sprinkle the crumble mixture evenly over the apples.
- Bake for about 35 minutes, or until the top is golden brown.
- Cool completely, then refrigerate for at least 3 hours before serving.


